
 English
 日本語
 Deutsch
 Español




How to Vacuum Seal Glass Jars: Step-by-Step Methods and Common Mistakes to Avoid
Content
- 1 What Vacuum Sealing a Glass Jar Actually Means
- 2 Why Vacuum Seal Glass Jars in the First Place
- 3 Four Practical Ways to Vacuum Seal Glass Jars
- 4 Choosing Glass Jars and Lids That Hold a Vacuum
- 5 Which Foods Actually Benefit from Vacuum Sealing in Glass
- 6 Common Mistakes That Ruin a Vacuum Seal
- 7 Caring for Vacuum Glass Jars Between Uses
- 8 Frequently Asked Questions About Vacuum Sealing Glass Jars
- 8.1 Can any glass jar be vacuum sealed?
- 8.2 Is a stronger vacuum always better?
- 8.3 Does vacuum sealing keep food safe forever?
- 8.4 How long does a vacuum seal last in a glass jar?
- 8.5 My lid will not come off even after releasing the valve. What should I do?
- 8.6 How do I know the seal is still intact?
- 8.7 Do I need a special jar, or can I use a normal mason jar?
Last month I sealed a fresh bag of coffee beans into a vacuum glass jar on the same afternoon I opened it. Two months later, the first cup still carried the berry-and-cocoa aroma printed on the roaster's label. Without the vacuum, those same beans would have tasted flat by week three. That difference is not luck; it is the chemistry of oxidation and moisture, slowed down by simply removing air.
The short answer is this: any clean, undamaged glass jar with a lid that has a one-way valve, or with an accessory that lets a pump draw air out, can be vacuum sealed. The quality of the silicone gasket and the valve geometry decide how long the vacuum lasts, not the brand on the bottom of the jar. Below I break down four methods that work in a normal kitchen, explain which jars and lids are worth your money, list the foods that benefit most, and highlight the mistakes I see most often in home kitchens.
What Vacuum Sealing a Glass Jar Actually Means
At normal sea-level air pressure, a sealed jar contains roughly 21 percent oxygen. When you draw air out, the pressure inside drops to about 0.7 bar with a hand pump and even lower with an electric vacuum sealer; the oxygen concentration falls into the single digits. That low-oxygen, low-moisture environment slows three things:
- Oxidation: fats turn rancid, coffee aromatics fade, and spices lose their volatile oils.
- Aerobic microbes: molds and bacteria that need oxygen stop multiplying.
- Moisture movement: dry foods stay crisp, and powders do not clump.
People often confuse vacuum sealing with canning. Canning applies heat to kill microorganisms; vacuum sealing only reduces the air. A food that needs refrigeration still needs refrigeration after the air is pulled out. Understanding this boundary keeps your expectations realistic and your kitchen safe.
Why Vacuum Seal Glass Jars in the First Place
Dry pantry staples are the easiest victory. A vacuum-sealed glass jar keeps coffee beans aromatic for 6 to 12 months, whole spices for 2 to 3 years, and nuts for almost a year without turning rancid. We have written about how much glass storage jars extend food shelf life, and the short version is that airtight storage helps, while vacuum storage helps two to four times more for oxygen-sensitive foods.
| Food item | Open container | Airtight container | Vacuum-sealed glass jar |
|---|---|---|---|
| Whole coffee beans | 1 to 2 weeks | 3 to 4 weeks | 6 to 12 months |
| Ground coffee | 3 to 5 days | 1 to 2 weeks | 3 to 6 months |
| Dried spices | 3 to 6 months | 6 to 12 months | 2 to 3 years |
| Shelled nuts | 1 to 2 months | 4 to 6 months | 8 to 12 months |
| Flour and grains | 1 to 2 months | 3 to 6 months | 6 to 12 months |
| Dried chilies and herbs | 2 to 4 months | 6 to 9 months | 1 to 2 years |
Beyond shelf life, three benefits do not show up in a table:
- Pest protection: a vacuum-sealed jar is a physical barrier against weevils, pantry moths, and ants.
- Moisture stability: no air exchange means sugar stays free-flowing and crisp foods stay crisp.
- Visual control: glass shows you exactly what is inside, so you can spot spoilage without opening the jar.
Glass also has one property plastic cannot match: it does not absorb odors or leach compounds into the food. A glass jar that held curry yesterday will not make today's oatmeal taste like curry after a proper wash.
Four Practical Ways to Vacuum Seal Glass Jars
Method 1: Vacuum Lid with a Hand Pump
Lids with a one-way silicone valve in the center are the simplest starting point. They fit most standard glass jars, cost little, and are the design used by nearly every vacuum storage jar manufacturer. You fill the jar, place the lid, and pull the air out with a small handheld pump.
- Fill the jar with dry food and leave about 2 to 3 cm of headspace below the rim.
- Wipe the rim of the jar and the silicone gasket of the lid with a dry cloth. A single sugar crystal can cause a slow leak.
- Place the lid and press around the perimeter so the gasket seats evenly.
- Insert the pump nozzle into the valve and pump gently 5 to 15 times. Stop when the pump stroke feels resistant and the center of the lid dips slightly.
- Pull the small tab on the lid. If the tab moves easily, the vacuum has not engaged; pump a few more strokes and recheck.
This setup suits coffee, flour, sugar, grains, and salt. With a good gasket, the vacuum holds anywhere from two weeks to two months before it needs a refresh.
Method 2: Vacuum Sealing Machine with a Jar Attachment
If you already own an electric vacuum sealer, a universal jar attachment turns a standard-mouth mason jar into a vacuum jar. The accessory includes a hose, a valve cap, and a pressure release catch. It costs less than a full set of specialty lids and processes many jars quickly.
- Fill the jar and leave headspace as described in Method 1.
- Screw the accessory cap onto the jar; it sits exactly like a normal lid.
- Connect the hose to the cap, then select the canister or dry mode on the machine.
- Run the machine until it signals completion; the center of the cap should be concave.
- Open the release catch before removing the hose, otherwise you will lose the vacuum instantly.
Home users find this method more expensive up front, but it is the fastest way to process 10 to 20 jars in one batch, which makes it practical for seasonal bulk buying.
Method 3: Air-Reducer Lids with No Pump Required
A growing number of glass storage jars now use an integrated air-reducer lid: a silicone membrane valve in the center plus a wide soft-gasket edge. You press the valve with your thumb to push air out in short bursts. Each press removes a small amount of air, so 10 to 20 presses create a practical vacuum. It will not reach the low pressure of a pump, but it reduces oxygen enough to visibly slow staleness in coffee and tea.
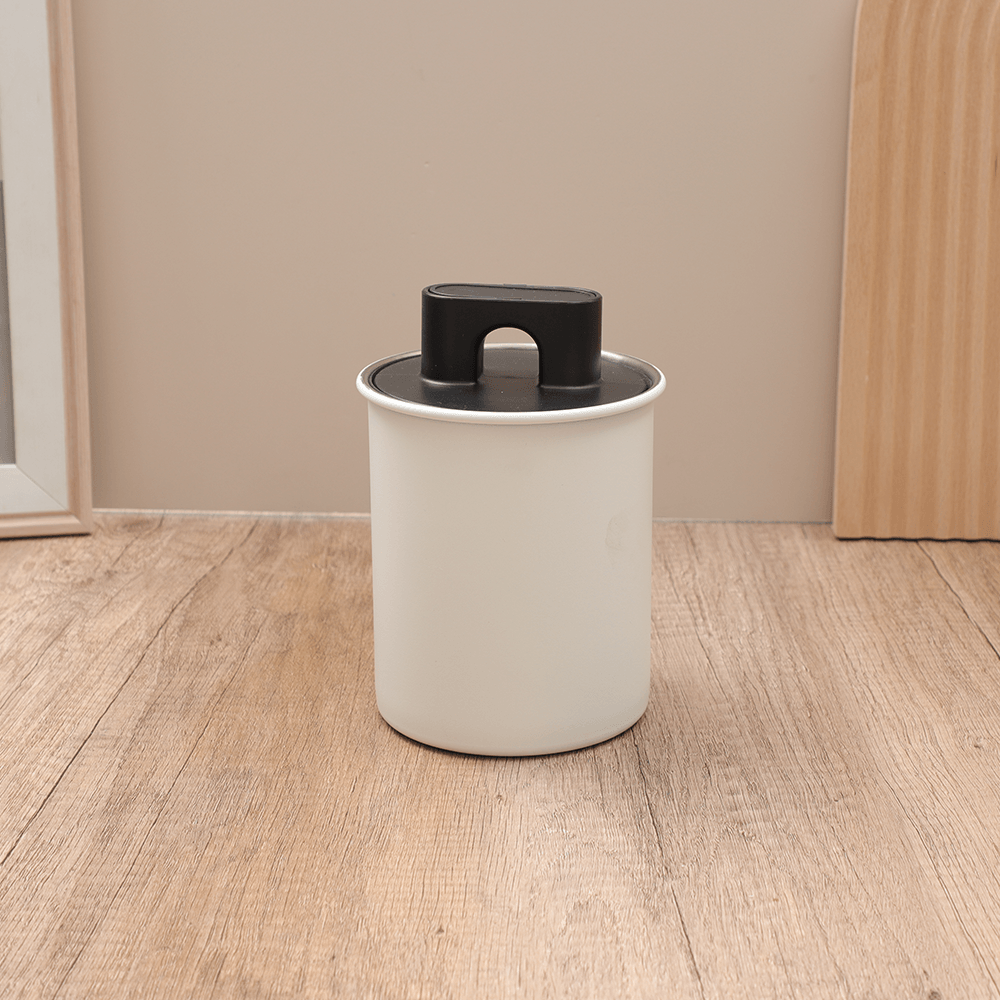 Stainless Steel Vacuum Storage Jar with Air-Reducer LidA press-to-seal stainless steel jar with an integrated silicone valve lid. Its simple thumb-press mechanism suits daily coffee or tea storage, as the vacuum is practical but not as deep as pump models.View Product →
This is the mechanism used in many of our own air-reducer vacuum storage jars. The advantage is convenience: no pump, no hose, and no electricity. The tradeoff is a shorter effective seal life, so it is best for jars that are opened every day or two rather than sealed for months.
Method 4: Hot-Fill Contraction Method
This is the oldest household method, used for jams and pickles long before pumps existed. Fill the jar with hot food, close the lid firmly, and let the contents cool. The air above the food contracts as it cools, pulling the lid slightly concave. A correctly executed contraction seal shows a visible dip in the lid within 10 to 15 minutes.
Four cautions keep this method safe:
- Use heat-resistant borosilicate glass, not thin soda-lime jars that crack under temperature change.
- Leave at least 2 cm of headspace so the contents do not touch the lid.
- Do not tighten the lid fully while the jar is still steaming; allow steam to escape, then twist it shut once the bubbling slows.
- Refrigerate anything that is not high-acid or very dry; the contraction method creates only a partial vacuum, not a sterilization process.
Choosing Glass Jars and Lids That Hold a Vacuum
Many people assume thick glass automatically means better vacuum performance. Thickness helps, but the decisive factors are the glass type, the lid gasket, and the valve design. Here is how the choices compare in practice:
- Soda-lime glass: cheaper and common in everyday jars, but it handles thermal shock poorly and may crack if you pour hot liquid into a recently vacuum-sealed jar.
- Borosilicate glass (type 3.3): expands less under heat, resists cracking, and survives repeated vacuum cycles. Most export-grade vacuum storage jars use borosilicate.
- Wall thickness and base: look for a flat, thick base so the jar does not tip over while you pump or press the valve.
Lid choice matters even more. A gasketless metal lid will never hold a vacuum, regardless of the jar. The reliable options are these:
- Metal threaded lid with silicone gasket and center valve: the best all-round choice for durability and reuse.
- Plastic lid with integrated silicone valve: light, affordable, and ideal for daily use; replace it once a year if the valve stays soft.
- Bamboo or wooden lid: attractive, but poor for vacuum because wood is porous and absorbs odor.
- 304 stainless steel lid with silicone seal: long-lived and hygienic, usually found on mid-range to premium jars.
A more detailed comparison is available in our guide on which lid type is best for glass storage jars.
| Lid type | Vacuum hold | Lifespan | Best context |
|---|---|---|---|
| Metal plus silicone gasket | Excellent | 1 to 3 years | Long-term bulk storage |
| Plastic plus silicone valve | Excellent | About 1 year | Daily pantry rotation |
| Bamboo or wooden lid | Poor | Risk of warping | Decorative dry display |
| 304 stainless steel plus silicone | Excellent | 5 or more years | Humid climates and rough handling |
For everyday vacuum use, a borosilicate body paired with a food-grade silicone valve is the combination I recommend. It tolerates both hot and cold contents, survives repeated pumping, and cleans easily.
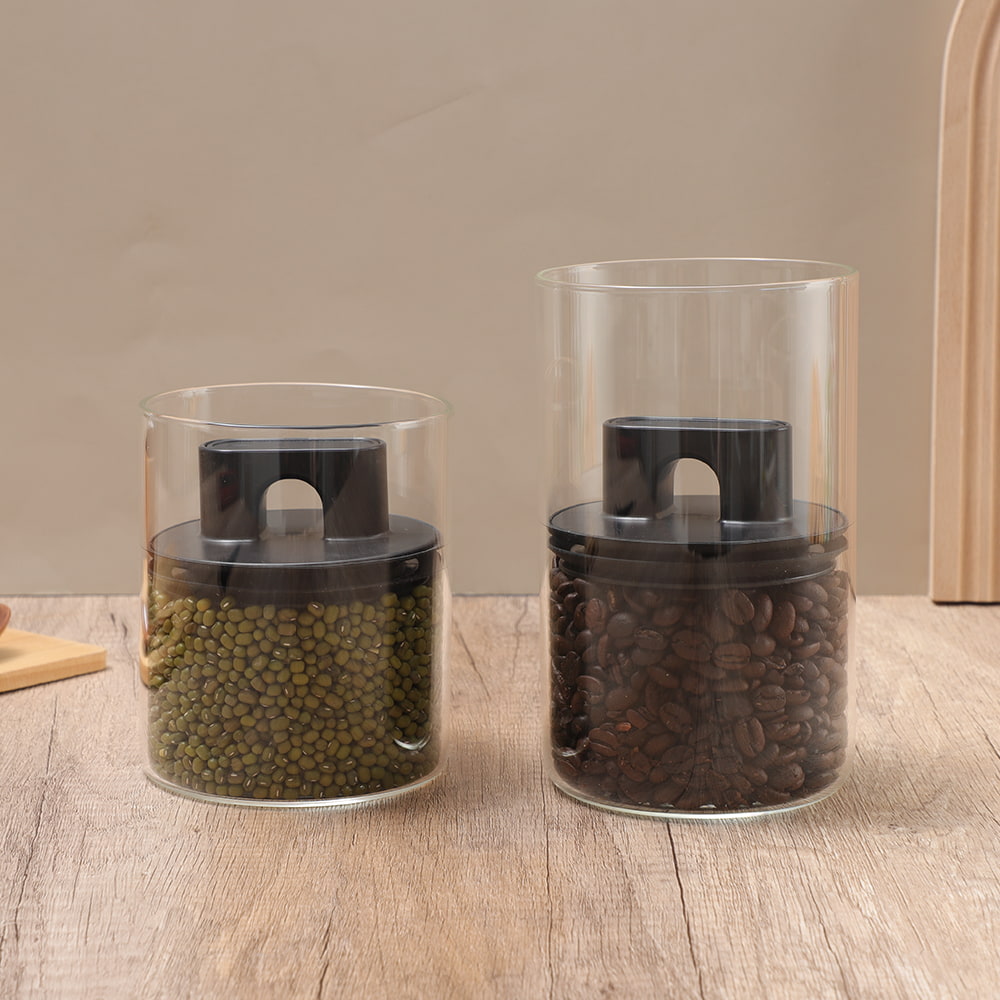 Borosilicate Glass Vacuum Jar with Dual-Valve LidA durable borosilicate glass jar with a food-grade silicone air-reducer lid. It tolerates hot and cold contents, cleans easily, and its dual-valve system locks in coffee aroma without pumps or replacement valves.View Product →
Jars without valves can still be vacuum sealed using a universal jar sealer accessory, but the valve-free lid holds a vacuum for a shorter period because the gasket does the entire job alone. If you plan to seal jars for months at a time, buy lids with a dedicated valve.
Which Foods Actually Benefit from Vacuum Sealing in Glass
Dry foods with less than about 10 percent moisture are the ideal candidates. Whole coffee beans, dried spices, nuts, flours, rice, sugar, dried mushrooms, and dried fruit all gain visibly longer shelf life. Moist and low-acid foods are a different story: vacuum sealing does not kill bacteria, so vegetables, cooked meals, and anything in brine still require refrigeration, and they should be consumed within a few days.
| Food category | Suitability | Practical note |
|---|---|---|
| Whole coffee beans | Excellent | Keep beans whole; grinding doubles surface area and speeds aroma loss. |
| Dried herbs and spices | Excellent | Prevents clumping and dulling of volatile oils. |
| Nuts and seeds | Excellent | Prevents oxidative rancidity, which causes the old-nut smell. |
| Flour, rice, grains | Good | Stops pantry weevils and reduces moisture migration. |
| Dried fruit | Good with caution | Very dry fruit is best; sticky fruit can pull the silicone valve open. |
| Pickles in brine | Conditional | Refrigerate after opening; vacuum slows further fermentation. |
| Cooked vegetables and meals | Not recommended | Need refrigeration and consumption within a few days. |
| Raw garlic, mushrooms, low-acid purees | Not recommended | Anaerobic conditions raise the risk of certain bacteria in low-acid moist foods. |
A useful rule of thumb: if the food can sit safely in a closed cupboard for a week, vacuum sealing will extend that window many times over. If the food normally lives in the refrigerator, it should keep its home in the refrigerator even after the air is removed.
Common Mistakes That Ruin a Vacuum Seal
Even with the right jar, a poor habit can turn a perfect vacuum into a slow leak within days. These are the eight failures I see most often in home kitchens:
- Overfilling the jar. Without 2 to 3 cm of headspace, the gasket cannot flex inward and the lid will not seat under vacuum pressure.
- Pumping past the resistance point. Excess vacuum stresses soda-lime glass and can crack a thin-walled jar. Stop as soon as the lid center begins to dip.
- Ignoring dirt on the gasket. A crumb under the silicone seal is a slow leak. Wipe both surfaces every single time.
- Choosing a lid without a gasket. A bare metal rim or a hard plastic rim can never develop a reliable seal.
- Leaving jars in direct sunlight. UV light and heat age the silicone valve and accelerate fat oxidation in nuts and coffee.
- Vacuuming sticky foods at full pressure. Honey, syrup, or wet fruit residue can pull the valve open overnight and break the seal.
- Never re-checking the seal. A good vacuum fades naturally over 3 to 6 weeks. Check every two weeks, and re-pump when the center of the lid sits flat instead of concave.
- Mixing strong odors in the same cupboard. Glass does not absorb smell, but the silicone gasket does; keep sealed onions and sealed biscuits in separate cabinets.
Caring for Vacuum Glass Jars Between Uses
A vacuum jar is a mechanical device as much as it is a container. The glass may last decades, but the gasket and valve wear out on their own schedule. A small routine keeps them reliable:
- Wash the glass and the lid separately with mild detergent and warm water. Avoid abrasive pads on the silicone valve.
- Dry everything fully before reassembly. Residual moisture inside the valve is the number-one cause of mold spots between uses.
- Replace the silicone gasket every 6 to 12 months. A flattened gasket no longer holds low pressure, no matter how hard the pump pulls.
- Keep jars with the lid slightly ajar when stored empty, so the gasket recovers its original shape.
- Never heat a closed vacuum jar. Release the vacuum first, then heat the jar in the microwave or dishwasher; borosilicate resists heat, but the plastic valve and silicone seal do not.
Reusable vacuum glass jars can survive years of cycles when treated this way. Our standard glass vacuum storage jar, for example, is built for daily rotation of coffee, sugar, tea, and dry grains; the valve is easily replaced without discarding the jar.
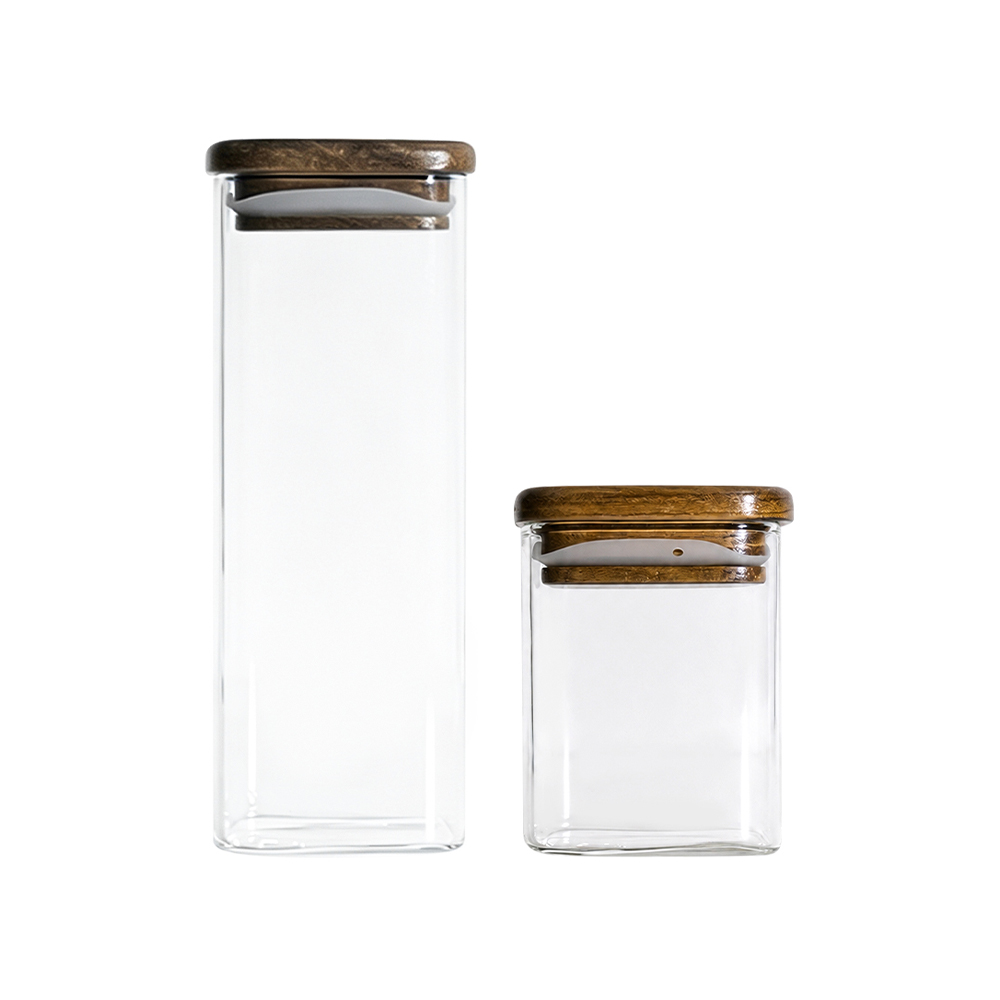
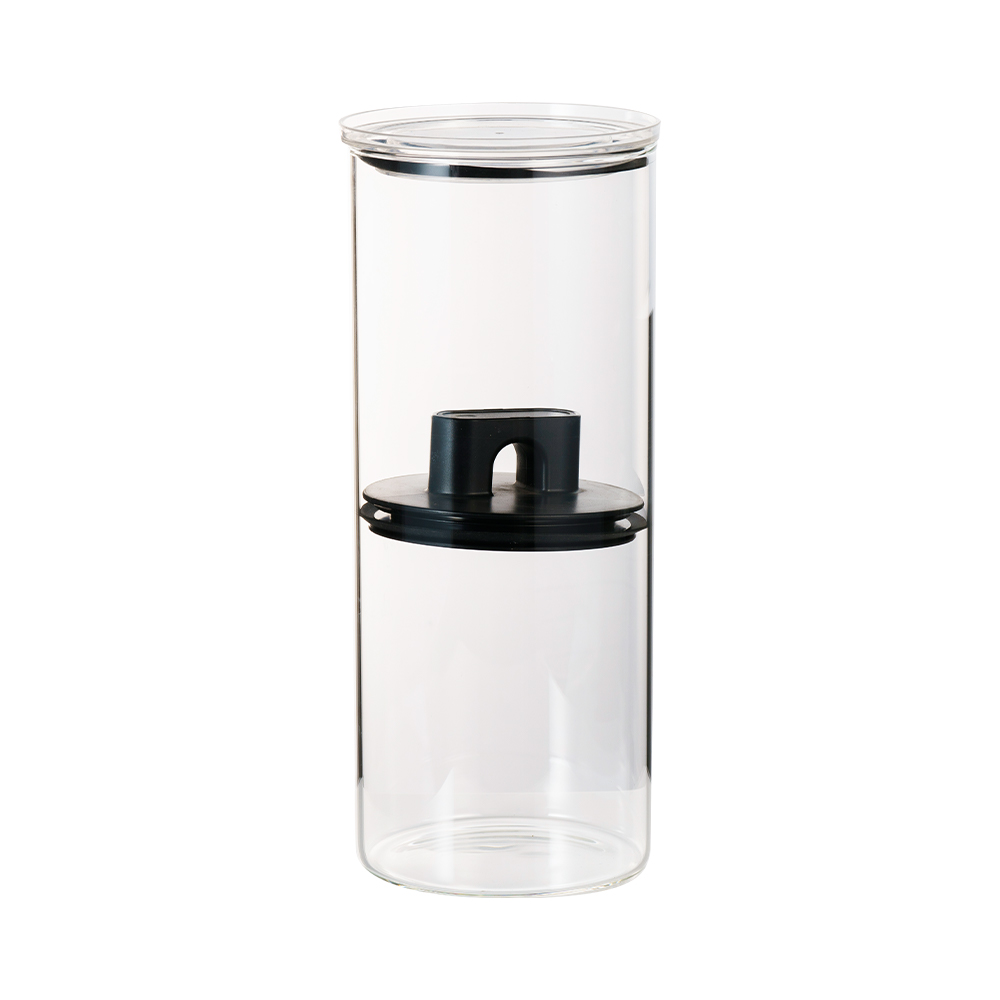 Clear Glass Vacuum Storage Jar for Daily Dry GoodsA transparent, reusable glass jar for rotating coffee, sugar, tea, and dry grains. The visible interior makes checking contents easy, and the replaceable valve extends the jar’s usable life.View Product →
Frequently Asked Questions About Vacuum Sealing Glass Jars
Can any glass jar be vacuum sealed?
No. The lid is the limiting factor. A regular threaded lid without a valve can only be vacuumed with a universal jar-sealer attachment. Chipped rims, hairline cracks, or mismatched lids always leak slowly, so inspect the rim before every session.
Is a stronger vacuum always better?
No. A hand-pump vacuum of around 0.7 to 0.8 bar is enough for home storage. Excessive vacuum can crack thin glass, deform the gasket, crush soft foods, and make the lid extremely difficult to remove.
Does vacuum sealing keep food safe forever?
No. Vacuum slows oxidation and aerobic microbes, but it does not sterilize. Dry staples stay acceptable far longer, while moist refrigerated foods still need to be eaten within days. Always follow the normal cold chain for perishable items.
How long does a vacuum seal last in a glass jar?
With a new silicone valve and a clean rim, expect between two weeks and two months. After that, the pressure slowly rises as tiny air molecules work past the gasket; this is normal, not a failed product.
My lid will not come off even after releasing the valve. What should I do?
Turn the jar upside down and run warm, not boiling, water over the lid for about 15 seconds. The gasket softens slightly, and the lid will twist free without tools.
How do I know the seal is still intact?
Three signs: the center of the lid stays concave, there is no hissing sound when you press the valve, and the lid tab does not move when pulled gently.
Do I need a special jar, or can I use a normal mason jar?
Any intact jar works if the lid is compatible. A purpose-built borosilicate vacuum jar with an air-reducer lid simply makes the process easier and the seal more consistent, especially for repeated daily use.
The return on investment of vacuum-sealed glass jars is immediate for coffee, spices, and nuts: less waste, better flavor, and no pantry pests. Start with one jar and one hand pump, run a two-week comparison against the same item stored in an open container, and the difference will be obvious in the first sip or first bite.
When you need a batch of jars, look for borosilicate bodies and silicone valves. If you have questions about sizes, lid options, or custom labeling for your own kitchen brand, reach out to our factory team and we will point you to the right product line.
Recommended Products


- PRODUCT
- Glass Storage Jar
- Glass/Stainless Steel Drinking ware
- Kitchen Seasoning Containers
- Home Decoration
- QUICK LINKS
- Products
- About Us
- Manufacture
- ODM/OEM
- News
- Contact Us
- CONTACT US
-
-
 7 Crystal Boulevard xi’an Feng Town, Baoying County,Jiangsu, China.
-
 WhatsApp:
+86-15005252638 -
 +86-15005252638
+86-18083766162
+86-15895746638
+86-0514-8866-8898
-
 joy@nchousewares.com
Jack@nchousewares.com
julia@nchousewares.com
-
- CONTACT

