
 English
  日本語
日本語  Deutsch
  Español




How to sterilize glass jars in microwave?
Content
- 1 The Quick Answer: Yes, You Can Sterilize Glass Jars in a Microwave
- 2 Why Sterilizing a Glass Storage Jar Actually Matters
- 3 Step-by-Step: How to Sterilize a Glass Jar in the Microwave
- 4 Recommended Microwave Time by Jar Size
- 5 Safety Precautions Before You Start
- 6 Common Mistakes That Ruin the Sterilizing Process
- 7 Which Glass Jars Are Suitable for the Microwave Method
- 8 Alternative Sterilizing Methods for Comparison
- 9 Storing Jars After Sterilizing
- 10 Frequently Asked Questions
- 10.1 Can I sterilize a glass jar in the microwave without water?
- 10.2 How long should I microwave a jar to fully sterilize it?
- 10.3 Is it safe to microwave a jar with a metal lid on?
- 10.4 Why did my glass jar crack in the microwave?
- 10.5 Does microwave sterilizing work as well as boiling water canning?
- 10.6 Can I reuse the same glass storage jar many times?
- 10.7 What size microwave-safe jar works best for this method?
The Quick Answer: Yes, You Can Sterilize Glass Jars in a Microwave
The fastest and most reliable way to sterilize a glass storage jar at home is to rinse it well, fill it with roughly one inch of clean water, and microwave it uncovered on high power for 60 to 90 seconds until the water reaches a rolling boil for at least one full minute. The rising steam sterilizes the interior surface while the boiling water sanitizes the base. This method works because heat-resistant glass conducts and retains heat evenly, and steam at 100°C (212°F) is hot enough to destroy the vegetative bacteria, yeast, and mold spores most commonly responsible for spoiled preserves, sour milk residue, or musty pantry smells.
This guide walks through the exact process, the timing for different jar sizes, the mistakes that cause cracked glass or uneven sterilization, and when a microwave is not the right tool for the job.
Why Sterilizing a Glass Storage Jar Actually Matters
A jar that looks clean is not the same as a jar that is sterile. Dishwashing removes visible residue and most surface bacteria, but it does not reliably eliminate heat-resistant spores that can survive on glass, especially in the fine scratches that build up on jars used repeatedly for pickling, fermenting, or storing dry goods. Left untreated, these spores can multiply once the jar is filled with anything containing moisture and sugar, protein, or starch, which is exactly the environment inside a typical glass storage jar used for jam, sauce, pickles, infused oil, or homemade nut milk.
Home food-safety guidance from extension services in the United States and Europe generally recommends sterilizing jars before any low-acid or low-sugar preserve, and before reusing jars that previously held dairy, meat stock, or raw produce. Microwave sterilizing is not a substitute for pressure canning when a recipe specifically requires it, but for everyday jars used to store dry pantry goods, refrigerated condiments, infusions, or short-term pickles, it is one of the fastest at-home methods available.
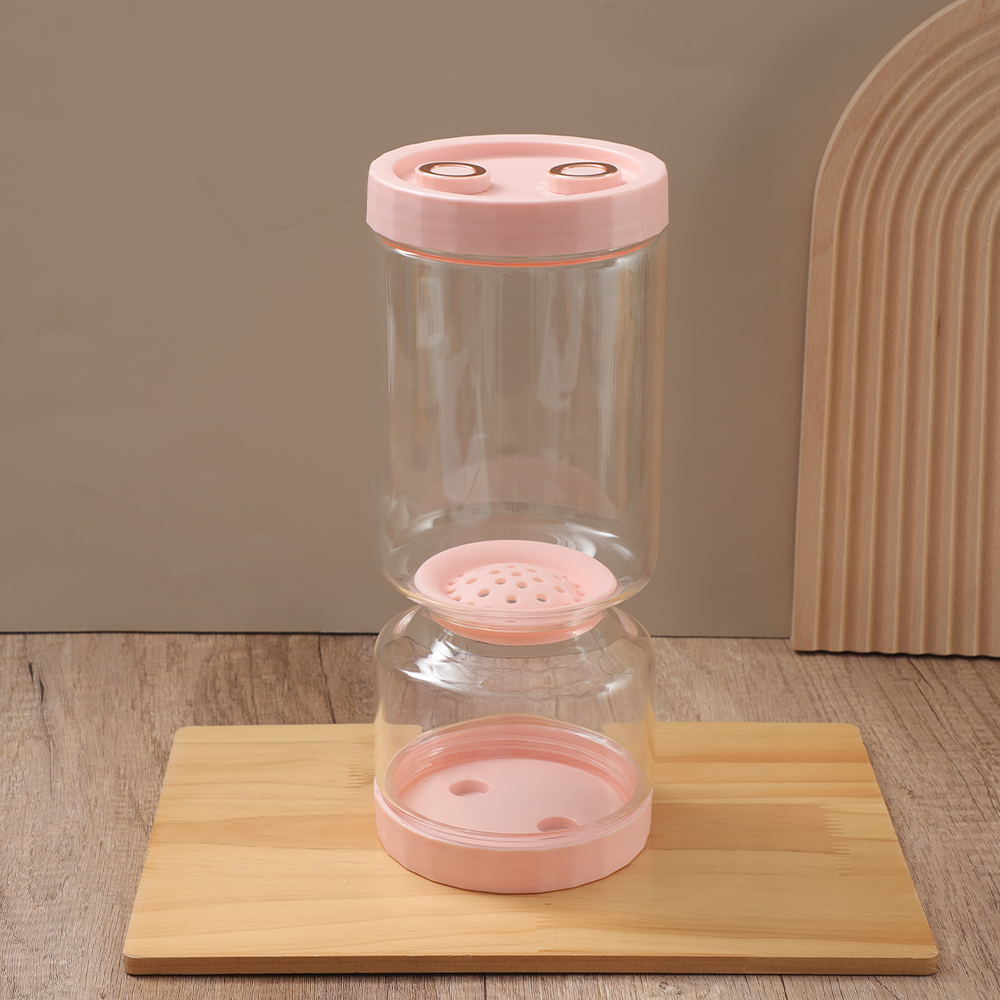
Step-by-Step: How to Sterilize a Glass Jar in the Microwave
What You Need
- A microwave-safe glass storage jar with no metal lid, band, or decorative trim
- Clean tap or filtered water
- Oven mitts or a folded towel for handling hot glass
- A clean cooling rack or dry dish towel
The Process
- Wash the jar in warm, soapy water and rinse thoroughly to remove any residue, then check the glass for chips or cracks. Do not microwave damaged glass.
- Pour about 1 inch (2.5 cm) of water into the bottom of the jar. The water is what generates the steam that sterilizes the walls and neck.
- Place the jar upright in the center of the microwave turntable, uncovered and without a lid.
- Microwave on high power for 60 to 90 seconds for a standard 8 to 16 ounce jar, until the water is at a full rolling boil and steam is visibly rising from the opening for at least 60 continuous seconds.
- Leave the jar in the closed microwave for an additional 2 minutes. The trapped steam continues sterilizing the neck and rim during this resting period.
- Using oven mitts, carefully remove the jar, pour out the hot water, and set the jar upside down on a clean, dry towel or rack to air dry.
- Fill the jar while it is still warm, or once fully cooled and dry, depending on the recipe. Never fill a hot jar with cold contents, since the temperature shock can crack the glass.
Sterilizing the Lid
Metal lids and bands should never go in the microwave. Instead, sterilize lids separately by placing them in a small pot of boiling water on the stovetop for 5 minutes, or by washing them in a hot dishwasher cycle. Plastic lids that are labeled microwave-safe can sometimes be sterilized by boiling water poured over them in a heatproof bowl, but check the manufacturer's guidance first, since not all plastics tolerate near-boiling temperatures without warping.
Recommended Microwave Time by Jar Size
Timing depends on jar volume, glass thickness, and microwave wattage. The table below is based on a standard 1000-watt household microwave; lower-wattage models may need an extra 20 to 30 seconds.
| Jar Size | Water Amount | Microwave Time | Rest Time |
|---|---|---|---|
| 4 oz (120 ml) | 1/2 inch | 45–60 seconds | 1–2 minutes |
| 8 oz (240 ml) | 1 inch | 60–75 seconds | 2 minutes |
| 16 oz (480 ml) | 1 inch | 75–90 seconds | 2–3 minutes |
| 32 oz (950 ml) | 1.5 inches | 100–120 seconds | 3 minutes |
Jars larger than roughly 32 ounces are usually better suited to stovetop or oven sterilizing, since microwaves heat unevenly across a wide glass surface once volume increases, which can leave cooler spots near the shoulder of the jar that never reach sterilizing temperature.
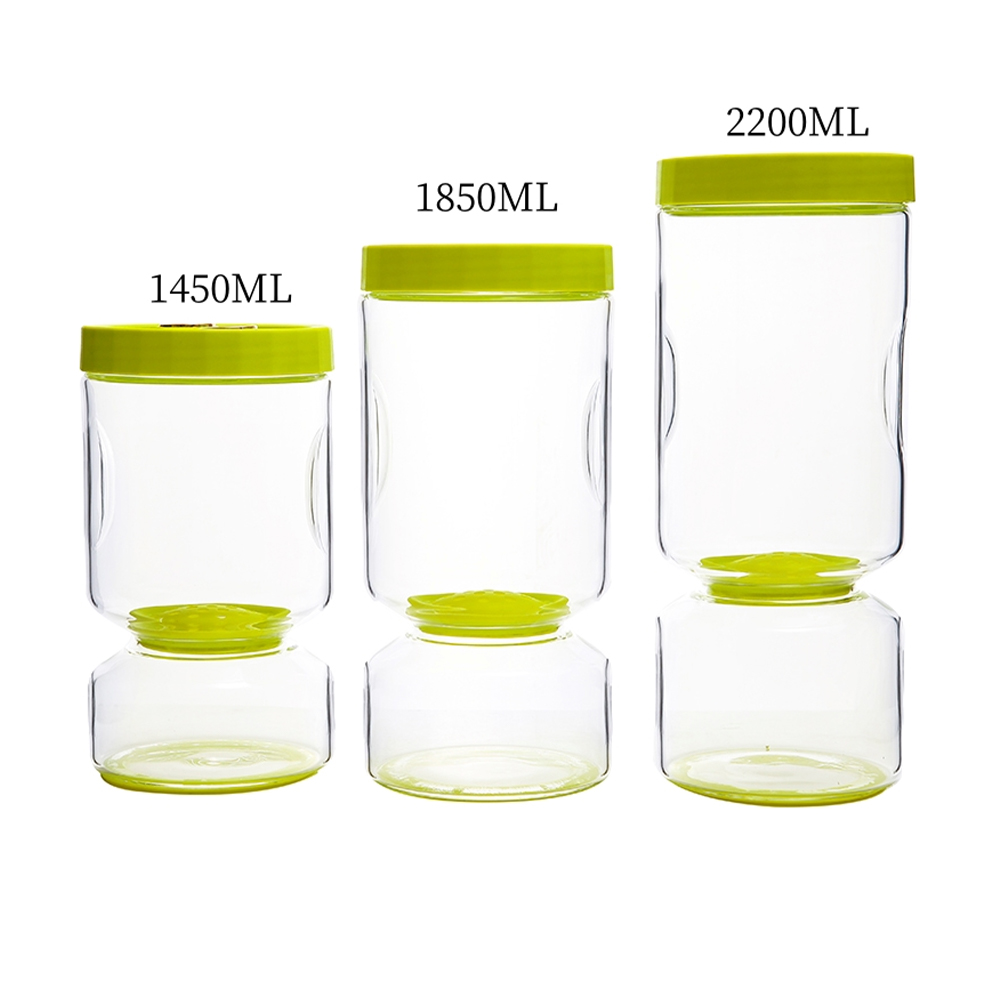
Safety Precautions Before You Start
Not every jar on the shelf is safe to microwave. Following a short checklist before heating prevents cracked glass, burns, and uneven sterilizing.
- Confirm the jar is labeled microwave-safe or made from tempered borosilicate or soda-lime glass without metallic paint, gold rims, or decorative foil.
- Never place a completely dry jar in the microwave. Glass without any liquid inside can overheat unevenly and shatter.
- Never microwave a jar with the lid screwed on. Sealed containers can build pressure and rupture.
- Avoid moving jars directly from the microwave to a cold countertop or the refrigerator; thermal shock is the most common cause of cracked glass jars.
- Use dry oven mitts. Wet mitts conduct heat and increase the risk of a steam burn when handling a jar that just came out of the microwave.
- Inspect jars for hairline cracks under bright light before every use; a jar that has been sterilized many times is more likely to develop stress fractures over its lifespan.
Common Mistakes That Ruin the Sterilizing Process
Skipping the Water
Microwaving an empty jar to sterilize it is one of the most frequent errors. Without water, there is no steam, and dry glass can develop hot spots that lead to cracking rather than sterilizing.
Stopping Too Early
Sterilization depends on sustained heat, not a quick flash of steam. If the water only reaches a simmer and never a full rolling boil for a continuous minute, harmful spores can survive. Watch for visible, continuous steam rising from the jar opening as the signal that the process is working, rather than relying on the timer alone.
Touching the Interior After Sterilizing
Fingers reintroduce bacteria immediately. Handle a sterilized jar by the exterior and base only, and fill it as soon as reasonably possible rather than letting it sit open on the counter for an extended period.
Reusing Jars With Damaged Rims
A chipped rim on a glass storage jar prevents a lid from sealing properly, which undermines sterilization no matter how carefully the jar itself was heated. Chipped jars are best retired to dry, non-food storage use.
Which Glass Jars Are Suitable for the Microwave Method
Not all jars respond the same way to microwave heat. The table below summarizes which common jar types are good candidates and which should be sterilized using a different method.
| Jar Type | Microwave Suitable | Notes |
|---|---|---|
| Plain borosilicate storage jar | Yes | Ideal candidate; high thermal shock resistance |
| Standard canning jar (soda-lime glass) | Yes, with care | Remove metal lid and band first |
| Jar with gold or silver rim decoration | No | Metallic trim can spark and damage the microwave |
| Thick-walled decorative candle jar | No | Uneven wall thickness heats inconsistently |
| Jar with visible cracks or chips | No | Structural weakness increases shattering risk |

Alternative Sterilizing Methods for Comparison
The microwave is convenient, but it is one of several reliable ways to sterilize a jar. Choosing the right one depends on batch size, jar material, and how the jar will be used afterward.
Boiling Water Bath
Submerging jars completely in boiling water for 10 minutes is the traditional method for canning and works for any number of jars at once, including lids. It takes longer to heat the water but sterilizes multiple pieces simultaneously, which makes it more efficient for large batches.
Oven Sterilizing
Placing clean, dry jars on a baking tray in an oven at around 140°C (285°F) for 10 to 15 minutes is a common approach for large batches of canning jars. It avoids the risk of thermal shock from wet-to-cold transitions but takes considerably longer than the microwave and uses more energy.
Dishwasher Sterilize Cycle
Many dishwashers include a sanitize setting that reaches roughly 70°C (158°F) for an extended rinse cycle. It is convenient for everyday jars used for refrigerated storage but does not reach the same peak temperature as boiling or steaming, so it is generally better suited to routine cleaning than to jars intended for shelf-stable preserving.
| Method | Time | Best For |
|---|---|---|
| Microwave | 1–2 minutes | One or two jars, quick turnaround |
| Boiling water bath | 10 minutes | Large batches, canning day |
| Oven | 10–15 minutes | Multiple jars without water immersion |
| Dishwasher | Full cycle | Everyday storage jars, routine cleaning |
Storing Jars After Sterilizing
Once a jar is sterilized and dry, how it is stored determines how long it stays clean. Keep sterilized jars upside down or covered loosely with a clean cloth until they are filled, rather than leaving them open on the counter where dust and airborne particles can settle inside. If jars will sit unused for more than a day before filling, store them with lids resting on top, unsealed, in a cabinet away from direct sunlight and moisture.
For pantry organization, a matching set of glass storage jars with airtight lids helps prevent recontamination between uses, since a proper seal keeps humidity and insects out far better than a loose-fitting lid ever can. Clear glass also makes it easy to spot condensation or discoloration early, which is often the first visible sign that a jar needs to be sterilized again before its next use.
Frequently Asked Questions
Can I sterilize a glass jar in the microwave without water?
No. Dry glass in a microwave can overheat unevenly and crack. Always add at least half an inch of water so the microwave has something to heat into steam.
How long should I microwave a jar to fully sterilize it?
For most 8 to 16 ounce jars, 60 to 90 seconds on high power, until the water boils continuously for at least a minute, followed by a 2 to 3 minute rest in the closed microwave.
Is it safe to microwave a jar with a metal lid on?
No. Metal lids and bands should never go in the microwave, since metal can spark and damage the appliance. Sterilize metal lids separately in boiling water on the stovetop.
Why did my glass jar crack in the microwave?
Cracking is usually caused by heating a dry jar, using a jar with an existing chip or hairline crack, or moving a hot jar directly onto a cold surface or into cold water. Gradual, even heating and cooling prevents this.
Does microwave sterilizing work as well as boiling water canning?
For everyday storage jars used for dry goods, condiments, or short-term pickles, yes. For shelf-stable, low-acid preserves meant to sit unrefrigerated for months, follow the specific canning method the recipe calls for, since those require sustained, calibrated heat processing.
Can I reuse the same glass storage jar many times?
Yes, as long as the glass is free of chips or cracks and the rim is smooth enough for the lid to seal properly. Re-sterilize before every new use rather than assuming a previously sterilized jar is still sterile weeks later.
What size microwave-safe jar works best for this method?
Jars between 4 and 16 ounces sterilize most evenly in a standard household microwave. Larger jars are better suited to a boiling water bath or oven method, since the center of a large jar may not reach sterilizing temperature as quickly as the walls.
Recommended Products


- PRODUCT
- Glass Storage Jar
- Glass/Stainless Steel Drinking ware
- Kitchen Seasoning Containers
- Home Decoration
- QUICK LINKS
- Products
- About Us
- Manufacture
- ODM/OEM
- News
- Contact Us
- CONTACT US
-
-
 7 Crystal Boulevard xi’an Feng Town, Baoying County,Jiangsu, China.
 -
 WhatsApp:
+86-15005252638 -
 +86-15005252638
+86-18083766162
+86-15895746638
+86-0514-8866-8898
-
 joy@nchousewares.com
Jack@nchousewares.com
julia@nchousewares.com
-
- CONTACT

