
 English
  日本語
日本語  Deutsch
  Español




How to Reseal Glass Jars: Complete Guide
Content
- 1 The Short Answer: How to Reseal Glass Jars
- 2 Why a Proper Seal Matters More Than Most People Realize
- 3 Understanding Your Glass Jar Before You Reseal It
- 4 Method 1: Resealing with Boiling Water Bath (Water Bath Canning)
- 5 Method 2: Vacuum Sealing with a FoodSaver or Handheld Vacuum Pump
- 6 Method 3: Replacing the Rubber Gasket on Bail-Top Jars
- 7 Method 4: Paraffin Wax Sealing (Traditional Method)
- 8 Method 5: Simple Lid-and-Band Reseal for Refrigerator Storage
- 9 Comparing Resealing Methods at a Glance
- 10 Common Resealing Mistakes and How to Avoid Them
- 11 How to Test Whether Your Glass Jar Is Properly Resealed
- 12 Choosing the Right Glass Storage Jar for Repeated Resealing
- 13 Special Cases: Resealing Jars After Fermentation
- 14 Maintaining Your Glass Storage Jars to Extend Their Resealing Life
The Short Answer: How to Reseal Glass Jars
Resealing a glass jar comes down to one core principle: creating an airtight barrier between the lid and the jar rim. The method you use depends on whether you need a temporary reseal for everyday storage or a long-term vacuum seal for food preservation. For most households, a clean rim, a new lid, and proper heat or vacuum technique will restore a complete seal in under 10 minutes. Skip any one of those three and you risk spoilage, mold, or lid failure within days.
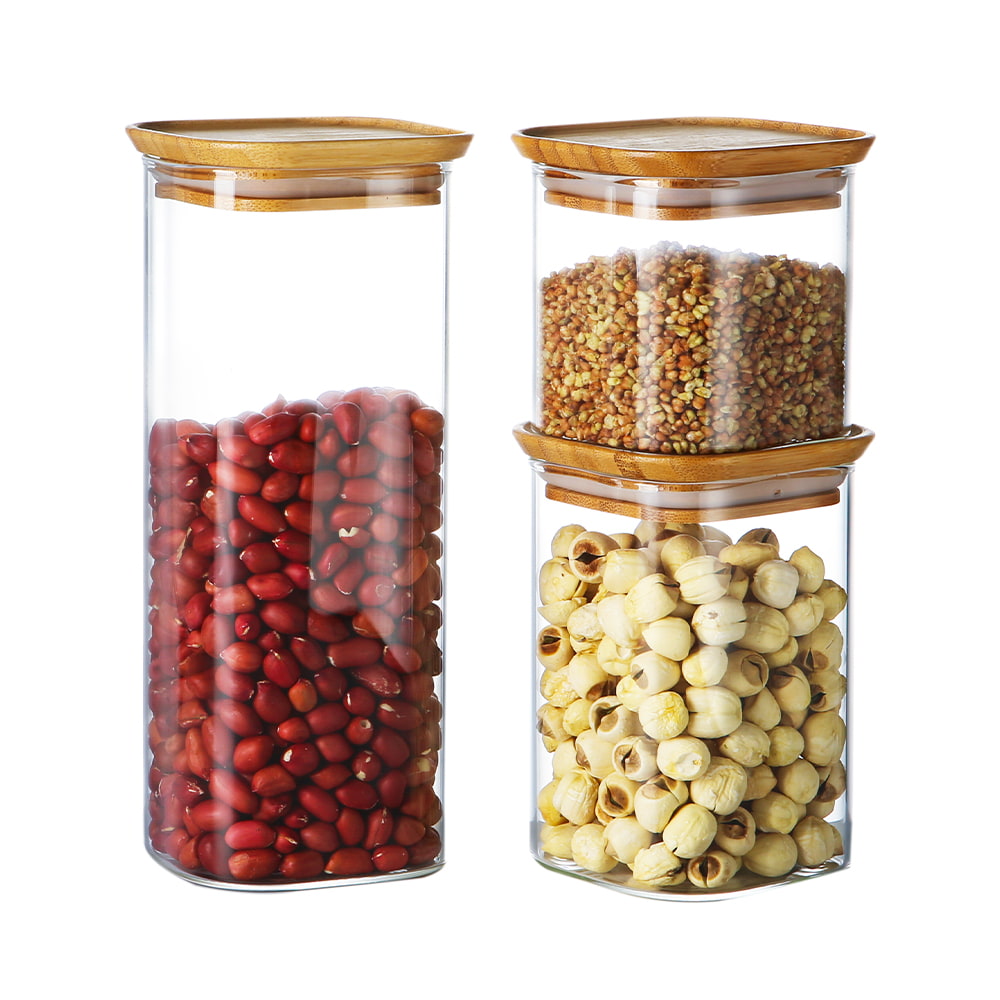
A quality Glass Storage Jar is designed to be resealed multiple times, but only when the right steps are followed. The sections below walk through every viable method, the tools you need, the mistakes that ruin a seal, and how to verify the seal held before you store anything long-term.
Why a Proper Seal Matters More Than Most People Realize
Air is the primary enemy of stored food. Once oxygen enters a sealed container, oxidation begins almost immediately. Fats go rancid, vitamins degrade, and aerobic bacteria gain a foothold. According to food science research from the USDA, properly vacuum-sealed dry goods stored in airtight glass containers can last two to five times longer than the same goods stored in loosely closed packaging.
Moisture is the second threat. Even a tiny gap in the lid seal allows humidity to enter, causing clumping in dry goods like flour, sugar, and spices, and accelerating mold growth in preserved fruits or pickled vegetables. A glass jar with a compromised seal can go from safe to moldy in as little as 72 hours at room temperature in a humid kitchen.
Beyond food safety, a good reseal protects aroma. Coffee beans lose up to 60% of their volatile aromatic compounds within two weeks when stored in a container with a poor seal. The same applies to dried herbs, teas, and spices. If those flavors matter to you, resealing correctly is not optional.
Understanding Your Glass Jar Before You Reseal It
Not every glass jar reseals the same way. The lid mechanism determines which technique works and which will fail. Before you pick a method, identify the jar type you are working with.
Two-Piece Canning Lids (Ball, Kerr, Mason Jars)
These are the most common type of glass storage jar used for home canning and preserving. They have a flat metal disc with a rubber-coated underside and a separate screw band. The rubber compound is what creates the seal when heated. These lids are officially rated for single use by manufacturers, but in practice, many home canners reuse them for dry storage with a vacuum sealer attachment rather than heat processing.
Bail and Rubber Gasket Jars (Weck, Le Parfait, Kilner)
These use a glass lid held down by a wire bail, with a separate rubber gasket ring providing the seal. The gasket is replaceable, which makes these jars excellent for repeated resealing. Weck gaskets, for example, are sold in packs and cost around $5 to $8 for a set of 10, making long-term reseal costs very manageable. The rubber should be replaced every one to three years depending on use and exposure to heat.
Commercial Food Jars (Pasta Sauce, Pickle, Jam)
These have a one-piece metal lid with a plastisol lining that seals against the jar rim. They were sealed under vacuum at the factory. Once opened, the plastisol is often deformed and cannot create a reliable vacuum seal again. These can be resealed with a vacuum sealer for short-term dry storage, but should not be used for water bath canning or pressure canning after the first open.
Cork-Topped and Swing-Top (Grolsch-Style) Jars
Swing-top glass storage jars with a rubber-sealed flip cap are excellent for everyday resealing. They are not designed for heat canning but work very well for beverages, fermentation starter cultures, overnight oats, infused oils, and similar items. The rubber gaskets on swing-top jars can be replaced and typically last 50 to 100 open-close cycles before degrading.
Method 1: Resealing with Boiling Water Bath (Water Bath Canning)
This is the most robust method for resealing high-acid foods like jams, jellies, pickles, tomatoes, and fruit preserves. The heat expands the air inside the jar, forces it out, and as the jar cools, atmospheric pressure pushes the lid down and creates a vacuum seal. This method is appropriate for glass storage jars designed for canning, such as Mason or Ball jars with new two-piece lids.
What You Need
- Large stockpot or dedicated canning pot with a rack
- New flat lids (reuse screw bands if undamaged)
- Jar lifter tongs
- Clean cloth or paper towel for wiping rims
- Timer
Step-by-Step Process
- Wash the jar and inspect the rim carefully. Run your finger around the full circumference. Any chip, crack, or rough spot means the jar should be retired. A compromised rim prevents a proper seal no matter what technique you use.
- Fill the jar with the food you want to preserve, leaving the headspace specified in your recipe. For most jams and jellies, this is ¼ inch. For vegetables and most pickles, it is ½ inch. Headspace allows the contents to expand during heating without pushing the lid off.
- Wipe the rim with a clean damp cloth. Even a small particle of food or grease on the rim will break the seal. This single step prevents the majority of seal failures.
- Place the new flat lid on the rim and apply the screw band until it is fingertip tight — firm but not wrenched down. Over-tightening prevents air from escaping during processing, which can cause the jar to seal improperly or the lid to buckle.
- Lower jars into boiling water using a jar lifter, ensuring they are covered by at least 1 to 2 inches of water. Process for the time specified in your recipe, which for most jams is 10 minutes and for pickles ranges from 10 to 20 minutes depending on acidity and jar size.
- Remove jars and set them on a towel at least 1 inch apart. Do not tilt or tip them. Let them cool undisturbed for 12 to 24 hours.
- Test the seal by pressing the center of each lid. A properly sealed lid will be slightly concave and will not flex when pressed. If it clicks up and down, the seal failed and the jar must be refrigerated and used promptly.
Shelf life with a successful water bath seal: 12 to 18 months for most high-acid products stored in a cool, dark location.
Method 2: Vacuum Sealing with a FoodSaver or Handheld Vacuum Pump
Vacuum sealing is the fastest and most repeatable method for resealing a Glass Storage Jar used for dry goods or refrigerated items. It removes oxygen from the jar without heat, which makes it ideal for coffee, nuts, dried herbs, flour, sugar, rice, pasta, and similar products. It is not appropriate for wet-packed foods intended for pantry storage, as the lack of heat means there is no sterilization.
Equipment Options
- FoodSaver with jar sealer attachment: The most popular home option. FoodSaver sells wide-mouth and regular-mouth jar sealer attachments for around $10 to $15. The machine pulls air through a tube connected to the attachment, creating a vacuum inside the jar.
- Handheld vacuum pump (e.g., Pump-N-Seal, ZWILLING Fresh & Save): Battery or manually operated. These work directly with compatible lids or through small valve inserts. They cost between $15 and $40 and are excellent for resealing single jars quickly.
- Chamber vacuum sealers: Professional-grade machines used in restaurants and serious home kitchens. They create a stronger vacuum than edge sealers but cost $300 to $800+. Overkill for most households but unbeatable for volume storage.
How to Vacuum Seal a Glass Jar Step by Step
- Fill the glass jar with dry goods, leaving at least half an inch of headspace so the lid seals flat.
- Wipe the rim dry and clean. Any moisture will prevent the lid from seating properly against the jar sealer attachment.
- Place a new or clean flat Mason lid on the jar. Do not attach the screw band yet.
- Set the jar sealer attachment over the lid and connect the vacuum hose.
- Run the vacuum cycle until the machine stops automatically or you hear the seal click into place. This typically takes 20 to 40 seconds per jar.
- Remove the attachment carefully without tilting the lid. Apply the screw band fingertip tight to hold the lid in position during storage.
- Test by pressing the lid center. It should be concave and firm.
One important note: vacuum-sealed dry goods in glass jars do not have the same shelf life as heat-processed goods because there is no sterilization. However, for products that were already safe to store (commercially dried goods, whole spices, roasted coffee), vacuum sealing can extend shelf life by 1 to 3 additional years compared to simple lid storage.
Method 3: Replacing the Rubber Gasket on Bail-Top Jars
Bail-top glass storage jars like Weck, Kilner, or Le Parfait use a rubber ring gasket that compresses between the glass lid and jar rim to form an airtight seal. Over time, the rubber hardens, cracks, or deforms, breaking the seal. The fix is straightforward: replace the gasket.
Signs the Gasket Needs Replacing
- The rubber feels stiff, brittle, or has visible cracks
- The ring has flattened and lost its rounded cross-section
- The lid can be lifted off with minimal resistance after processing
- Discoloration or a persistent odor that does not wash out
Replacing the Gasket
- Purchase replacement gaskets sized for your jar brand and lid diameter. Weck sells gaskets in sizes ranging from 40mm to 100mm. Measure the inner diameter of your glass lid groove to match correctly.
- Remove the old gasket from the groove in the glass lid. It should pull off easily if it is old. If stuck, use a thin blunt tool to ease it out without scratching the glass.
- Clean the groove thoroughly with warm soapy water and dry completely.
- Seat the new gasket evenly into the groove. It should sit flat with no twisting or overlapping at the joint.
- For Weck jars used in hot water bath canning, briefly dip the new gasket in hot water before placing it to make the rubber more pliable and ensure even seating.
- Fill the jar, place the lid with new gasket, and clamp the wire bails down. Process as normal.
After heat processing, the bail clips should be released. If the seal was successful, the glass lid will remain firmly in place by vacuum pressure alone. If you can slide the lid sideways or lift it, the seal did not hold.
Method 4: Paraffin Wax Sealing (Traditional Method)
Paraffin wax sealing is a traditional technique used for decades, particularly for jams, jellies, and preserves stored in straight-sided glass jars. It is no longer recommended by the USDA for long-term pantry storage because the seal is not as reliable as vacuum or water bath methods — wax can crack or pull away from the jar rim if there is any temperature fluctuation. However, it remains popular for short-term storage and artisan or gift-oriented preserves.
Basic Paraffin Wax Sealing Process
- Melt food-grade paraffin wax in a double boiler. Never melt wax directly over an open flame — it is flammable. Use a can or small pot set inside a larger pot of boiling water.
- Fill your glass jar with hot jam or jelly and wipe the rim clean.
- Pour a thin layer of melted wax — approximately ⅛ inch — over the surface of the hot preserve. The wax should reach and adhere to the sides of the jar.
- Let the first layer cool until opaque, then add a second thin layer. Two thin layers seal better than one thick one.
- Once fully cooled, cover with a lid or foil to protect from dust.
Paraffin-sealed jars should be stored in a cool, dark location and used within six to twelve months. They should not be stacked, as the weight can crack the wax seal. Consider this method a complement to — not a replacement for — a proper mechanical or heat seal when long shelf life matters.
Method 5: Simple Lid-and-Band Reseal for Refrigerator Storage
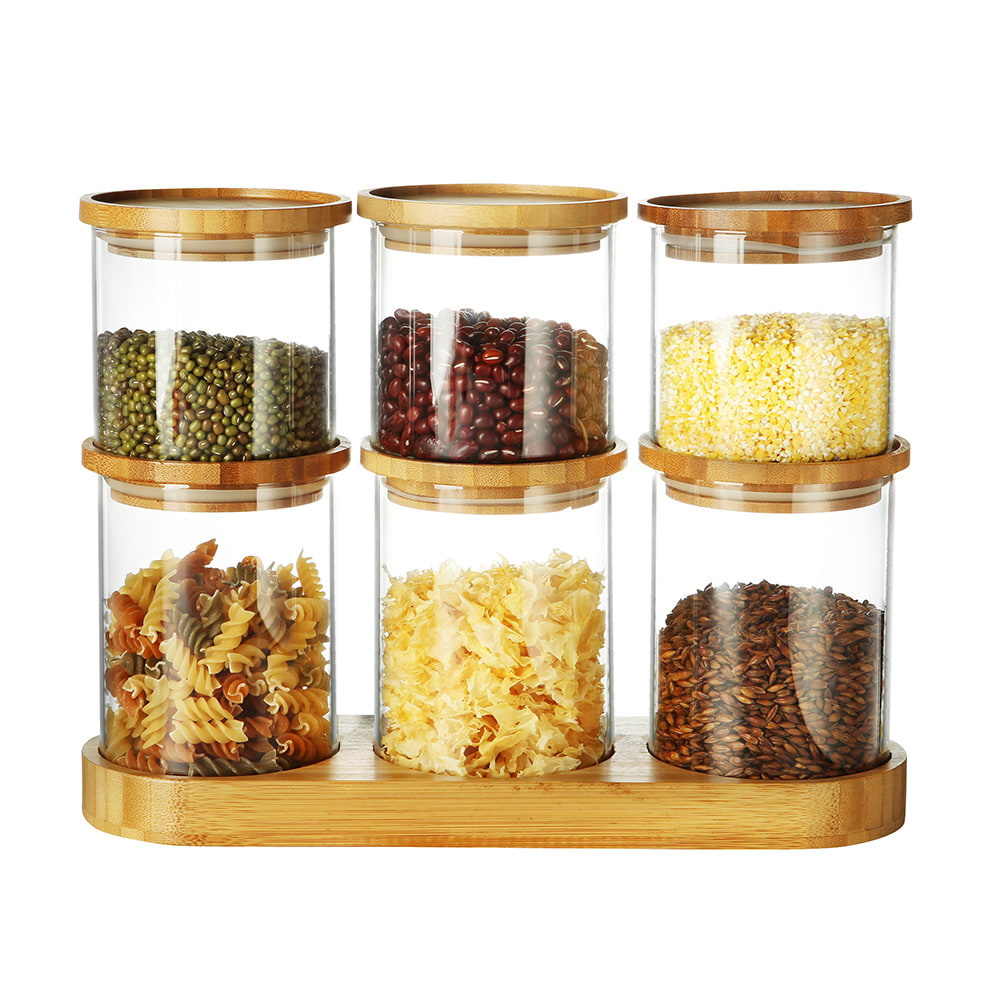
Not every reseal needs to be a vacuum or heat process. For leftovers, prepped ingredients, or opened commercial products moved into a glass storage jar, a clean lid applied firmly to a clean jar rim provides adequate protection for refrigerator storage of three to seven days.
The key factors for a reliable simple reseal:
- The lid gasket must be intact. If the rubber or plastisol lining is cracked, peeling, or permanently deformed, replace the lid.
- The rim must be clean. Wipe away any drips or food particles before applying the lid.
- Tighten securely but not over-tightly. A seal that is too tight can be difficult to remove and may deform the lid gasket over time.
- Store upright. Storing jars on their sides puts liquid content in contact with the lid constantly, which can corrode metal lids or stress the gasket.
For opened commercial jars being reused as glass storage jars in the refrigerator, silicone stretch lids are a practical alternative when the original lid has been discarded or damaged. These cost around $8 to $15 for a set of assorted sizes and create a decent short-term barrier against moisture and odor transfer.
Comparing Resealing Methods at a Glance
| Method | Best For | Shelf Life | Difficulty | Cost |
|---|---|---|---|---|
| Water Bath Canning | High-acid foods, jams, pickles | 12–18 months | Moderate | Low ($20–$40 setup) |
| Vacuum Sealer | Dry goods, coffee, grains | 1–4 years (dry) | Easy | Medium ($40–$150) |
| Gasket Replacement | Bail-top glass jars | 12–18 months | Easy | Very low ($5–$8/set) |
| Paraffin Wax | Jams, short-term preserves | 6–12 months | Moderate | Low ($3–$8 per lb wax) |
| Simple Lid Reseal | Refrigerator storage | 3–7 days | Very easy | Minimal |
Common Resealing Mistakes and How to Avoid Them
Most seal failures trace back to a small number of repeatable errors. Knowing what these are saves time, food, and money.
Reusing Single-Use Lids for Heat Processing
The sealing compound on standard two-piece canning lids is designed to flow and bond once during heat processing. After that, the compound is deformed and cannot reliably re-bond to the jar rim. Reusing a previously heat-processed lid for another canning run results in a much higher rate of seal failures — estimates from canning educators suggest failure rates can rise from under 5% with new lids to over 30% with reused ones. New lids cost approximately $3 to $5 per dozen. Use them once for heat processing and repurpose for dry vacuum storage after that.
Not Checking the Jar Rim
A hairline chip on the rim of a glass jar is invisible at a glance but catastrophic for a seal. Run your fingertip slowly around the entire rim before every use. Any roughness, nick, or chip means the jar should be used for non-sealed purposes like utensil holders or pencil cups. Even a tiny imperfection of 1 to 2 millimeters is enough to prevent a vacuum from holding.
Incorrect Headspace
Too little headspace in a water bath canned jar causes the contents to expand during heating and push against or under the lid, preventing a seal and sometimes blowing the lid off. Too much headspace means more trapped air that must be expelled, which can result in a partial vacuum that fails within weeks. Follow tested recipe headspace guidelines precisely — they exist for a reason backed by food science, not convention.
Over-Tightening the Screw Band
This is one of the most counterintuitive mistakes for new canners. When the band is too tight during processing, air cannot escape from the jar as it heats, creating internal pressure that deforms the lid or forces siphoning of contents under the lid edge. Fingertip tight means tightened until you feel resistance, then no more. You should almost be able to unscrew it with two fingers after tightening.
Moving or Inverting Jars While Cooling
Some older recipes instruct you to invert jars after filling as a sealing method. This is not considered safe by modern food preservation standards. Inverting a hot jar causes the contents to come in contact with the underside of the lid, which can degrade the sealing compound and introduce contamination. Set jars upright on a towel, leave at least an inch of space between them for air circulation, and do not move them for a full 12 to 24 hours.
Storing Sealed Jars with the Band On
Once a jar has sealed successfully, remove the screw band before long-term storage. Leaving the band on can trap moisture between it and the jar, causing rust that makes the band impossible to remove later. More importantly, if the seal failed but the band is tight, you may not notice the lid has lost its vacuum. Without the band, a failed seal becomes immediately obvious — the lid lifts right off.
How to Test Whether Your Glass Jar Is Properly Resealed
Always verify the seal before storing jars in the pantry. There are three reliable tests you can use, and checking all three takes under 30 seconds per jar.
The Press Test
Press the center of the lid firmly with one finger. A sealed lid will be slightly concave — curving inward — and will feel completely rigid. If the lid flexes or clicks up and down with a spring-like pop, there is no vacuum and the seal failed.
The Tap Test
Tap the lid with a metal spoon. A sealed lid produces a high-pitched ringing tone. An unsealed lid produces a dull, hollow thud. This test is particularly useful when checking a large batch of jars without pressing each one individually.
The Lift Test
Remove the screw band and try to lift the lid using just your fingertips on the edges. A properly sealed lid will hold firmly in place by vacuum pressure alone. You should not be able to remove it without significant effort or a lid opener tool. If the lid lifts off with minimal force, the seal failed.
If any jar fails the seal tests, refrigerate the contents and use them within the recommended safe window for that food type. Never store an unsealed jar in the pantry, even temporarily.
Choosing the Right Glass Storage Jar for Repeated Resealing
Not all glass jars are designed with repeated resealing in mind. If you plan to reseal regularly, choosing the right jar from the start saves time, money, and frustration.
Features to Look for in a Glass Storage Jar for Resealing
- Thick, even rim: Thin or uneven rims are more prone to chipping and less capable of holding a consistent seal. Look for jars where the rim has a uniform thickness of at least 3 to 4mm.
- Wide-mouth opening: Wide-mouth jars are easier to fill, clean thoroughly, and attach vacuum sealer accessories to. They also accommodate a broader range of replacement lids and accessories.
- Standard sizing: Jars sized to standard canning measurements (half-pint, pint, quart) are compatible with the widest range of lids, vacuum attachments, and accessories. Unusual sizes from specialty brands often require proprietary accessories that are difficult to source.
- Tempered glass: Borosilicate or tempered glass is more resistant to thermal shock — the cracking that occurs when hot liquid meets a cold surface or vice versa. This is especially important for water bath canning where jars go from hot fill to boiling water bath to countertop cooling.
- Replaceable lid components: The best glass storage jars for resealing have readily available replacement lids, bands, and gaskets. Weck, Ball, and Kilner all have strong spare parts ecosystems.
Jar Brands Worth Considering
- Ball and Kerr: The standard for home canning in North America. Wide availability, extensive accessory ecosystem, and proven sealing reliability across millions of home kitchens.
- Weck: German-made bail-top jars with an excellent reputation for durability and gastronomy presentation. The replaceable gasket system makes them ideal for households that reseal frequently.
- Kilner: British brand with a long heritage in preserving. Their clip-top and screw-top ranges are well-made and widely stocked in Europe and increasingly in North America.
- Bormioli Rocco (Fido jars): Italian-made glass storage jars with a distinctive flip-top and rubber gasket. Excellent for dry goods, fermentation, and pantry storage. The gaskets are widely available as replacements.
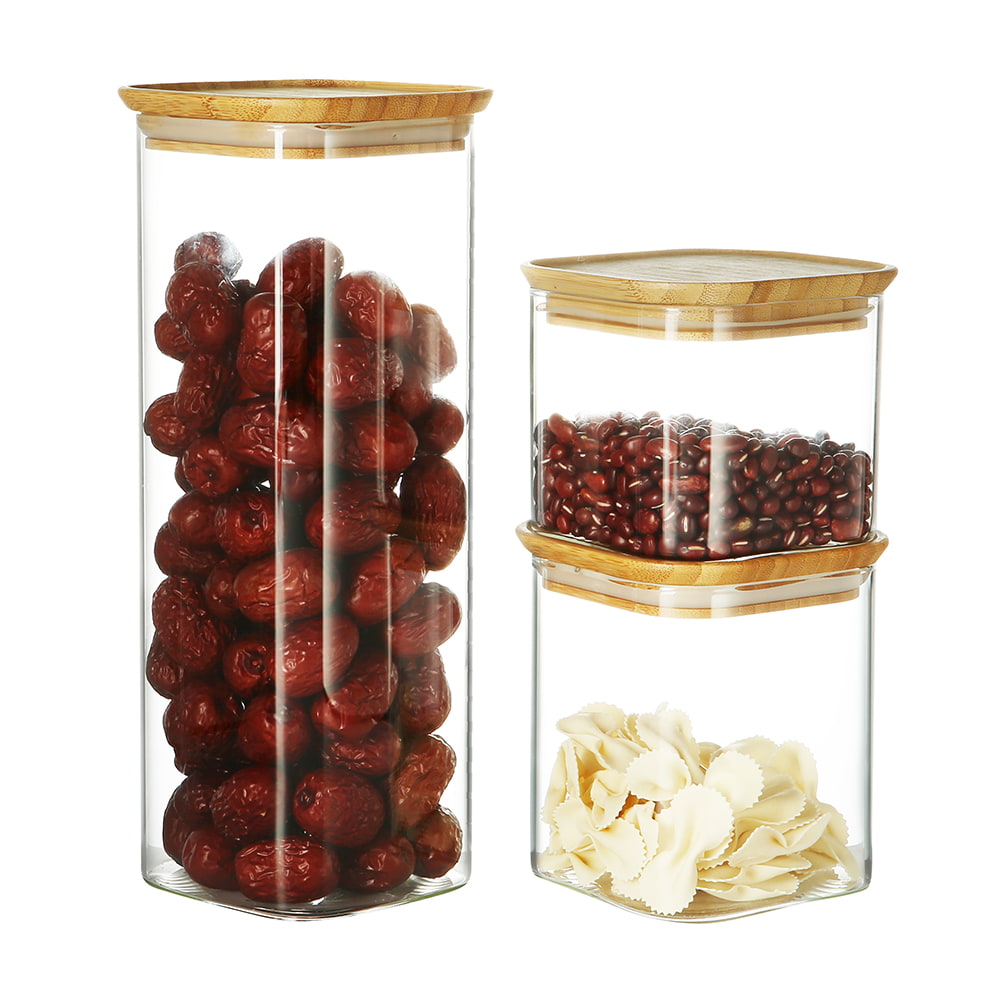
Special Cases: Resealing Jars After Fermentation
Fermented foods like kimchi, sauerkraut, kombucha, and lacto-fermented vegetables present a unique challenge when resealing. Active fermentation produces carbon dioxide gas continuously, which means a completely airtight seal on a jar containing live culture can cause pressure buildup and potentially blow the lid. The goal with fermented goods is not an airtight seal but a controlled seal.
For fermented foods moved to cold storage to slow fermentation, a loosely applied lid on a glass storage jar works well. Alternatively, specialty fermentation lids with built-in one-way valves (airlocks) allow CO2 to escape while keeping oxygen out. These cost between $5 and $15 and screw onto standard Mason jar openings.
If you are finishing a batch of kombucha and bottling for carbonation, you do want an airtight seal — but in a bottle designed for pressure, not a standard glass storage jar. Standard canning jars are not rated for the pressure that builds during secondary fermentation and can crack or fail. Use swing-top glass bottles rated for carbonation (typically 3 to 4 bar) for carbonated beverages.
Maintaining Your Glass Storage Jars to Extend Their Resealing Life
A glass storage jar can last decades if properly cared for. The lids and gaskets are the consumable components — the glass itself rarely wears out. Here is how to maximize the usable life of both.
Washing and Drying
Wash glass jars in hot soapy water or in the dishwasher. Avoid abrasive scrubbers on the rim area, as they can create micro-scratches that weaken the sealing surface over time. Dry jars completely before storing or filling — moisture inside a sealed jar can encourage mold growth even in the absence of food residue. Store jars upright with lids loosely placed on top rather than tightly sealed, which prevents moisture trapping and musty odors.
Storing Lids and Bands Correctly
Store unused flat lids in their original packaging or in a clean dry container. Do not stack them loosely in a drawer where the sealing compound can be scratched or deformed. Screw bands should be stored away from moisture — a damp environment will rust metal bands within weeks. Silicone gaskets should be stored away from direct sunlight, which degrades the rubber over time.
Inspecting Jars Before Each Use
Before every resealing session, run each jar through a quick inspection: check the rim for chips, check the glass body for cracks (especially around the shoulder and base), and check the threads for corrosion or deformation. A jar that passes this 10-second check will almost always perform reliably. One that doesn't should be retired before it causes a problem in storage.
A well-maintained glass storage jar with fresh lids and clean rims is one of the most reliable food storage tools available — more durable than plastic, non-reactive with acidic foods, and fully transparent so you always know what is inside and how much remains. The investment in learning to reseal them properly pays off in reduced food waste, lower grocery costs, and a pantry stocked with food you can trust.
Recommended Products


- PRODUCT
- Glass Storage Jar
- Glass/Stainless Steel Drinking ware
- Kitchen Seasoning Containers
- Home Decoration
- QUICK LINKS
- Products
- About Us
- Manufacture
- ODM/OEM
- News
- Contact Us
- CONTACT US
-
-
 7 Crystal Boulevard xi’an Feng Town, Baoying County,Jiangsu, China.
 -
 WhatsApp:
+86-15005252638 -
 +86-15005252638
+86-18083766162
+86-15895746638
+86-0514-8866-8898
-
 joy@nchousewares.com
Jack@nchousewares.com
julia@nchousewares.com
-
- CONTACT

