
 English
  日本語
日本語  Deutsch
  Español


How to Keep Apples Fresh in Your Lunch Box?
Content
- 1 The Short Answer: How to Keep Apples Fresh in a Lunch Box
- 2 Why Apples Turn Brown After Cutting
- 3 The Best Anti-Browning Treatments Compared
- 4 Why Container Choice Matters More Than Most People Realize
- 5 Temperature Management Inside the Lunch Box
- 6 Slicing Technique and Its Effect on Freshness
- 7 Apple Variety Selection for Lunch Box Packing
- 8 Timing: When to Cut the Apple for Maximum Freshness
- 9 Moisture Control Inside the Container
- 10 Combining Apple Slices With Other Lunch Box Foods
- 11 A Complete Step-by-Step Routine for Freshest Lunch Box Apples
- 12 Frequently Asked Questions About Keeping Apples Fresh in a Lunch Box
The Short Answer: How to Keep Apples Fresh in a Lunch Box
The single most effective way to keep apples fresh in a lunch box is to slice them, toss the pieces in a small amount of lemon juice or salted water, and store them in an airtight container — ideally a Glass Lunch Box. This method prevents enzymatic browning, preserves crunch, and keeps the apple tasting as close to freshly cut as possible, even six to eight hours after preparation.
Browning happens because apples contain polyphenol oxidase, an enzyme that reacts with oxygen the moment the flesh is exposed to air. Slowing or blocking that reaction is the entire goal. Everything else — container choice, temperature, timing — is about making that solution last longer and taste better.
Below, every factor that affects apple freshness in a packed lunch is covered in detail, with specific techniques, timings, and comparisons so you can choose the approach that works best for your situation.
Why Apples Turn Brown After Cutting
Understanding the science behind browning makes every solution easier to apply correctly. When an apple is cut, the cells in the flesh rupture and release polyphenol oxidase. This enzyme immediately begins oxidizing phenolic compounds in the apple tissue, producing melanin — a brown pigment. The process accelerates at room temperature and slows significantly in cold environments.
The speed of browning varies by variety. Granny Smith apples brown noticeably slower than Red Delicious or Fuji varieties, largely because of differences in phenolic compound concentration and pH level. In practical tests, Granny Smith slices left uncovered at room temperature showed minimal browning after 30 minutes, while Red Delicious slices turned noticeably brown within 10 to 15 minutes under the same conditions.
Knowing this, your strategy should combine:
- A chemical barrier to block the enzyme (acid, salt, or vitamin C)
- A physical barrier to limit oxygen contact (airtight container)
- Temperature control to slow the enzymatic reaction (cold packing)
No single step alone is as effective as combining all three.
The Best Anti-Browning Treatments Compared
There are several widely used methods to prevent browning. They differ in effectiveness, taste impact, and convenience. The table below compares the most common options head to head.
| Treatment | How to Use | Effectiveness | Taste Impact |
|---|---|---|---|
| Lemon juice | Toss slices in 1 tbsp per apple | High — up to 4–6 hours | Slight citrus tang |
| Salted water | Soak 1–2 min in 1/2 tsp salt per cup water | High — up to 6–8 hours | Very mild, barely detectable |
| Honey water | Soak 30 sec in 2 tbsp honey per cup water | Very high — up to 8 hours | Slight sweetness |
| Pineapple juice | Toss slices to coat | Moderate — 2–4 hours | Noticeable tropical flavor |
| Vitamin C (ascorbic acid) powder | Dissolve small pinch in water, toss slices | Very high — 8+ hours | Virtually none |
| Nothing (control) | — | None — browns within 10–30 min | No impact |
The Salted Water Method in Detail
Dissolve half a teaspoon of table salt in one cup of cold water. Submerge the apple slices and let them soak for one to two minutes — no longer, or they begin absorbing a salty flavor. Remove, shake off excess water, and pack immediately. This method keeps slices visually fresh and crisp for up to eight hours, making it one of the most practical options for a school or work lunch.
The Honey Water Method in Detail
Research published in food preservation journals has found that honey contains enzymes and compounds that inhibit polyphenol oxidase activity more effectively than citric acid alone. Mix two tablespoons of raw honey into one cup of water until fully dissolved. Dip the apple slices for 30 seconds, drain, and pack. The resulting sweetness is subtle and complements rather than changes the apple's natural flavor. This method is particularly good for children's lunches because it adds no harsh or sour notes.
Keeping the Apple Whole Until Mealtime
For situations where simplicity matters more than convenience at eating time, packing the whole apple and slicing it at school or the office is the most reliable approach. No browning treatment needed. This works especially well when combined with a compact knife kept in a utensil case alongside the lunch box.
Why Container Choice Matters More Than Most People Realize
Even after treating slices with lemon juice or salt water, the container determines how long freshness lasts. Air exposure, moisture regulation, and temperature retention all vary significantly between materials.
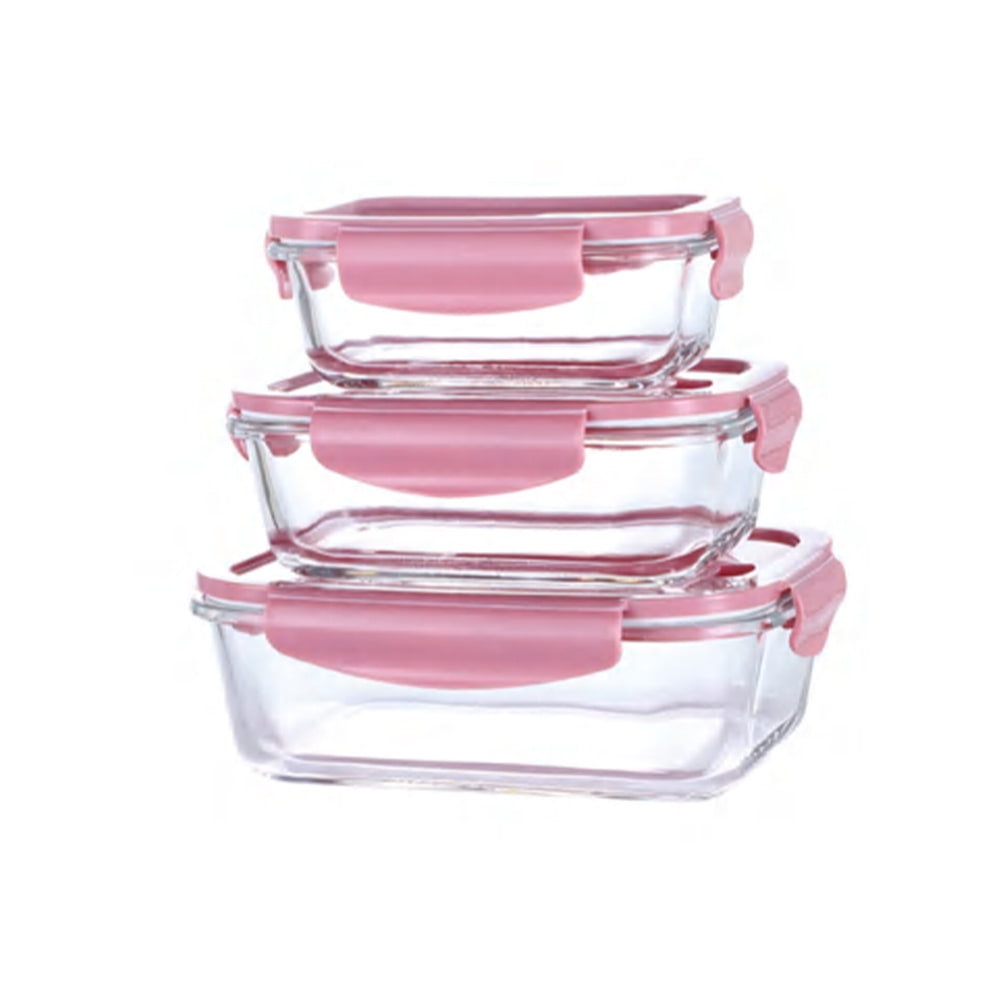
Glass Lunch Box: The Top-Performing Option
A Glass Lunch Box consistently outperforms plastic and silicone containers for keeping cut apples fresh. The reasons are specific and measurable:
- Non-porous surface: Glass does not absorb odors, flavors, or moisture from previous contents. This matters because residual smells from yesterday's lunch can transfer to apple slices and alter their taste.
- Airtight seal performance: High-quality glass lunch boxes with silicone-sealed lids maintain a tighter closure over time than most plastic snap-lid containers, which develop micro-warping after repeated dishwasher cycles.
- No chemical leaching: Glass contains no BPA, phthalates, or other plasticizers that can migrate into food, especially acidic foods like lemon-treated apple slices.
- Temperature stability: Glass retains cold temperatures longer than thin plastic, which is relevant when the lunch box is out of a refrigerator or cooler bag for several hours.
- Easy visual inspection: Transparent glass lets you see the condition of slices without opening the container and exposing them to additional oxygen.
In side-by-side comparisons done by home food preservation enthusiasts and published in community food blogs, apple slices stored in a glass lunch box with a locking silicone lid remained visually unchanged for up to seven hours, while identical slices in a standard plastic zip-lock bag showed browning at the edges within three hours under the same temperature conditions.
Plastic Containers: Practical but with Limitations
BPA-free plastic containers are lighter and cheaper than glass, making them a popular choice. However, plastic is slightly gas-permeable, which means small amounts of oxygen continue to reach the food even in a closed container. Over the course of a full school or work day, this can make a meaningful difference in how the slices look and taste. Plastic also scratches easily, and those scratches harbor bacteria and old food odors that can affect flavor.
If using plastic, prioritize containers with thick walls and a rubber or silicone gasket around the lid. Thin-walled containers with snap lids offer the least protection against air exposure.
Silicone Bags and Pouches
Reusable silicone bags have grown in popularity as an eco-friendly option. They seal well and are flexible enough to fit into odd-shaped lunch bags. Their main limitation for apple storage is that they do not retain cold as effectively as a solid-sided glass or plastic container, and the soft walls allow the apple slices to press against each other and get bruised during transport. Bruised surfaces brown faster than intact surfaces, even after anti-browning treatment.
Stainless Steel Containers
Stainless steel bento boxes are durable and retain cold temperatures well, comparable to glass. The main drawback is that you cannot see inside without opening the lid, which means checking apple freshness requires exposing the contents to air. They are also reactive with highly acidic treatments — if you use straight lemon juice without diluting it, a prolonged soak could cause a faint metallic taste when the juice contacts the steel surface of the container. Stainless steel remains a solid second choice to glass for apple freshness.
Temperature Management Inside the Lunch Box
Cold temperatures slow enzymatic browning significantly. The difference between storing apple slices at 4°C (refrigerator temperature) and 20°C (room temperature) can mean the difference between slices lasting 8 hours and slices lasting 2 hours, even with identical anti-browning treatment and container quality.
Using an Ice Pack Correctly
Place the ice pack directly against or beneath the container holding the apple slices. Do not place it on top of other items with the apple container sitting elsewhere in the lunch bag. An ice pack in a well-insulated lunch bag can maintain temperatures below 10°C for four to six hours, which meaningfully extends apple freshness.
Gel ice packs outperform traditional frozen water packs because they maintain a consistent surface temperature longer and do not create as much condensation that might dampen the exterior of a glass lunch box or cause it to slip.
Pre-Chilling the Glass Lunch Box
A technique that many people overlook: place the empty glass lunch box in the refrigerator for 10 to 15 minutes before packing the apple slices. A pre-chilled container extends the window of cold storage compared to packing directly into a container at room temperature. Glass holds cold well, so this head start makes a real difference over a six- to eight-hour lunch window.
Insulated Lunch Bags vs. Standard Lunch Boxes
An insulated lunch bag with a foil lining can maintain internal temperatures significantly longer than a non-insulated lunch box. Tested against room-temperature storage, insulated bags with a single gel pack kept contents below 10°C for an average of five hours in a 22°C ambient environment. Non-insulated lunch boxes lost cold within 90 minutes under the same conditions. If keeping apple slices fresh for a full school or work day is the goal, an insulated bag paired with a glass lunch box and a gel ice pack is the most reliable combination available.
Slicing Technique and Its Effect on Freshness
How you cut the apple affects how fast it browns and how well it holds up during transport. Thicker slices have a smaller surface-area-to-volume ratio, which means less exposed flesh per gram of apple. This translates directly to slower browning.
- Thin slices (under 5mm): Brown faster, more surface area exposed, more prone to going soft from moisture absorption
- Medium slices (6–10mm): Good balance of snackability and freshness retention, practical for most lunch boxes
- Thick wedges (10mm+): Slowest to brown, most resistant to bruising in transport, but harder to eat for young children
Using a sharp knife matters too. A dull blade crushes and tears cell walls rather than cutting cleanly through them. Crushed cells release more oxidizing enzymes than cells cut cleanly, which accelerates browning at the cut surface. A sharp, thin-bladed knife produces slices that stay fresh noticeably longer than slices cut with a dull knife.
The "Reassemble and Rubber Band" Method
A popular technique involves slicing the apple through the core in the usual way, then reassembling the slices back into the shape of a whole apple and securing them with a rubber band or food-safe elastic. The pieces press against each other, significantly limiting air contact on the cut surfaces. While this works reasonably well for short-duration freshness (up to 2–3 hours), it does not eliminate browning — it only slows it slightly compared to loose slices in an open bag. It is not a substitute for an airtight container, but it can work in a pinch when paired with a container that holds the reassembled apple snugly.
Apple Variety Selection for Lunch Box Packing
Not all apples are equal when it comes to packed lunch performance. The variety affects browning speed, texture durability, water content, and flavor after several hours in a sealed container.
| Apple Variety | Browning Speed | Texture After 6 Hours | Flavor Profile | Recommended? |
|---|---|---|---|---|
| Granny Smith | Slow | Very firm | Tart | Yes — top choice |
| Honeycrisp | Moderate | Very firm, juicy | Sweet-tart | Yes — excellent |
| Fuji | Moderate | Firm | Sweet | Yes |
| Gala | Moderate-fast | Softens noticeably | Mild sweet | Acceptable |
| Red Delicious | Fast | Mealy after a few hours | Bland | Not recommended |
| Pink Lady | Slow | Firm | Sweet-tart | Yes — excellent |
Granny Smith, Pink Lady, and Honeycrisp are the three best varieties for packed lunches because they combine slow browning, high firmness, and strong flavor that holds up well even after hours in a sealed container. Red Delicious should be avoided — it browns fast, goes mealy quickly, and has the least appealing flavor of all common varieties after being sliced.
Timing: When to Cut the Apple for Maximum Freshness
Preparation timing has a direct and significant effect on how fresh apple slices are by lunchtime. The earlier you cut the apple relative to when it will be eaten, the more cumulative oxidation occurs — regardless of treatment.
The optimal preparation window for a midday lunch is between 30 minutes and 2 hours before eating. This means:
- Preparing the night before works acceptably if you use a high-effectiveness treatment (honey water or ascorbic acid) and store the container in the refrigerator overnight
- Morning preparation the same day produces noticeably better results than evening preparation the night before
- Cutting directly before leaving for school or work, then cold-packing immediately, gives the best results of all practical options
When overnight preparation is necessary, store the treated slices in a glass lunch box in the coldest part of the refrigerator — typically the back of the middle shelf, not the door, where temperatures fluctuate every time the door is opened. This small adjustment can extend visible freshness by an additional hour or two compared to door storage.
Moisture Control Inside the Container
After anti-browning treatment, apple slices carry surface moisture. In a sealed container, this moisture creates a humid microenvironment that can soften the apple's texture over several hours. The slice becomes less crisp — not from browning, but from moisture reabsorption on the cut surface.
Drying Slices Before Packing
After the anti-browning soak, shake off excess liquid and pat the slices lightly with a clean paper towel or kitchen cloth. Removing surface moisture before sealing the container significantly reduces the humidity buildup inside. The slices will remain crisper for longer, and the container interior will not develop the wet, condensed appearance that can make food look less appetizing by lunchtime.
Using a Paper Towel Layer
Place a single folded paper towel at the bottom of the glass lunch box before adding the apple slices. The paper absorbs residual moisture that would otherwise pool at the base of the container and soften the bottom slices. This is a small addition to the preparation routine but produces a noticeable difference in texture, especially in warm weather when the temperature inside a lunch box rises faster and moisture condenses more aggressively.
Combining Apple Slices With Other Lunch Box Foods
What apple slices are packed alongside can affect their freshness. Strong-smelling foods — hard-boiled eggs, fish-based items, aged cheeses — can transfer odors to apple slices through proximity, especially in plastic containers. This is one area where a Glass Lunch Box with separate compartments offers a clear advantage: the non-porous glass walls contain aromas and prevent cross-contamination between compartments.
Acidic foods like sliced citrus or tomatoes stored in the same compartment as apple slices create a slightly more acidic microenvironment that can actually slow browning slightly, but they also contribute moisture and may alter flavor. This is not a practical recommendation — it is simply worth noting that food combinations can have unexpected interactions.
Pairing apple slices with almond butter, peanut butter, or a small dip container works well from a food science perspective. Nut butters are low-moisture, neutral in smell, and do not affect the apple's freshness. They are also a practical companion because the fat in nut butter slows digestion, making the lunch more satisfying without any negative effect on the apple's texture or appearance.
A Complete Step-by-Step Routine for Freshest Lunch Box Apples
Putting everything together into a single practical routine:
- Place the glass lunch box in the refrigerator 10–15 minutes before you plan to pack it.
- Choose a firm, slow-browning variety: Granny Smith, Pink Lady, or Honeycrisp.
- Prepare the anti-browning solution: half a teaspoon of salt in one cup of cold water, or two tablespoons of honey in one cup of water.
- Cut the apple into medium-thick slices (6–10mm) using a sharp knife.
- Submerge slices in the solution for 1–2 minutes.
- Remove slices, shake off excess liquid, and pat dry with a paper towel.
- Line the bottom of the pre-chilled glass lunch box with a folded paper towel.
- Arrange slices in a single layer if possible, or stack loosely without pressing.
- Seal the lid securely and place the container in an insulated lunch bag alongside a gel ice pack.
- Keep the lunch bag in the coolest available location until mealtime — avoid direct sunlight or leaving it in a hot car.
Following this routine consistently produces apple slices that are visually fresh, crisp, and flavorful after six to eight hours — well within the window of a typical school or work day.
Frequently Asked Questions About Keeping Apples Fresh in a Lunch Box
Does lemon juice change the taste of the apple too much?
It depends on the amount. Using a full squeeze of straight lemon juice produces a noticeable tang. Diluting one tablespoon of lemon juice in half a cup of water and tossing the slices in this diluted solution gives significantly less flavor impact while still providing effective browning protection. If you or your child is sensitive to sour flavors, switch to the salted water or honey water method instead.
Is a glass lunch box safe to use for a child's lunch?
Most glass lunch boxes designed for consumer use are made from borosilicate glass or tempered soda-lime glass, both of which resist shattering significantly better than ordinary glass. Many brands come with silicone outer sleeves that absorb impact if dropped. They are heavier than plastic, which can be a consideration for young children carrying their own bags. If weight is a concern, look for smaller-format glass lunch boxes or glass containers with protective silicone covers designed specifically for school use.
Can you prepare apple slices two days in advance?
This is not recommended for best quality. Even with effective anti-browning treatment and refrigerator storage, apple slices begin to lose their crispness after 24 hours and show visible browning at edges and cut surfaces within 36 to 48 hours. For two-day advance preparation, store whole apples in the refrigerator and cut them the morning of the day they are needed.
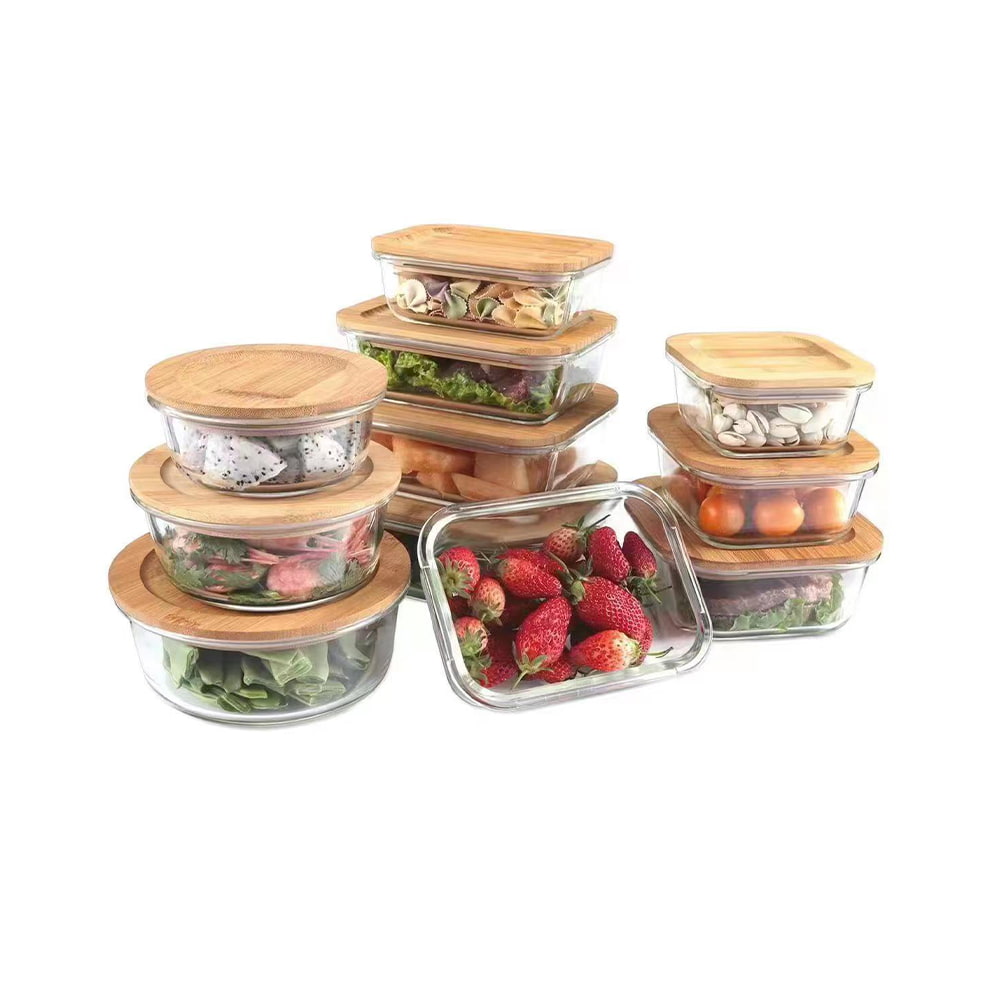
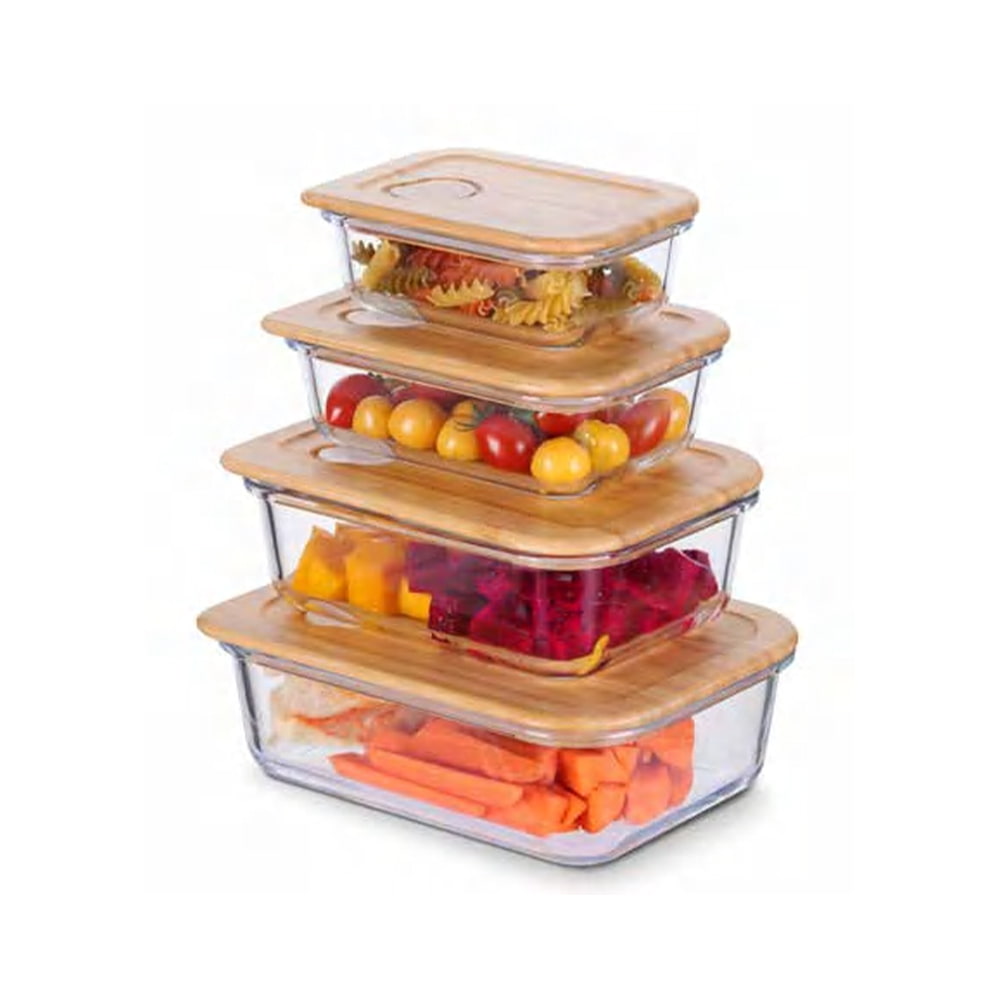
What is the best glass lunch box size for apple slices?
A 400–600ml rectangular glass container is practical for one medium apple's worth of slices. Rectangular containers use space more efficiently in a lunch bag than round ones, and a flat base makes stacking multiple items easier. Look for a container that is not too deep — slices stacked more than two or three layers high will press on each other, causing bruising and faster browning at the contact points.
Does vacuum sealing help keep apple slices fresh?
Yes, significantly. Removing oxygen from the container is one of the most effective ways to prevent enzymatic browning. Vacuum-sealed bags or containers with a hand pump can extend apple slice freshness by several additional hours compared to a standard airtight container. The trade-off is the added complexity and cost of vacuum sealing equipment. For most everyday lunch packing situations, the combination of anti-browning treatment, a well-sealed glass lunch box, and cold storage is sufficient without needing vacuum equipment.
Recommended Products


")
")

- PRODUCT
- Glass Storage Jar
- Glass/Stainless Steel Drinking ware
- Kitchen Seasoning Containers
- Home Decoration
- QUICK LINKS
- Products
- About Us
- Manufacture
- ODM/OEM
- News
- Contact Us
- CONTACT US
-
-
 7 Crystal Boulevard xi’an Feng Town, Baoying County,Jiangsu, China.
 -
 WhatsApp: +86-18083783456
 -
 +86-18083766162
+86-18083783456
+86-15895746638
+86-0514-8866-8898
-
 julia@nchousewares.com
Jack@nchousewares.com
-
- CONTACT

