
 English
  日本語
日本語  Deutsch
  Español


How to Sterilize Mason Jars and Lids: Complete Guide
Content
- 1 The Short Answer: How to Sterilize Mason Jars and Lids
- 2 Why Sterilizing Mason Jars Matters More Than Most People Realize
- 3 What You Need Before You Start
- 4 The Boiling Water Method: Step-by-Step
- 5 How to Sterilize Mason Jar Lids Correctly
- 6 The Oven Method: Does It Actually Work?
- 7 Using a Dishwasher to Sterilize Mason Jars
- 8 Sterilizing Mason Jars in an Instant Pot or Pressure Cooker
- 9 How to Sterilize Mason Jars for Different Uses
- 10 Common Mistakes That Ruin the Sterilization Process
- 10.1 Letting sterilized jars cool before filling
- 10.2 Touching the inside of jars or lids after sterilizing
- 10.3 Starting the timer before water reaches a full boil
- 10.4 Reusing old lids
- 10.5 Skipping altitude adjustments
- 10.6 Placing cold glass directly into boiling water
- 10.7 Using non-canning glass jars for preservation
- 11 Sterilizing Specialty Glass Storage Jars and Non-Standard Lids
- 12 How to Know If Your Jars Are Properly Sterilized and Sealed
- 13 Storing Sterilized Jars Before Use
- 14 Quick Reference: Sterilization Methods Compared
The Short Answer: How to Sterilize Mason Jars and Lids
To sterilize mason jars and lids, the most reliable method is submerging clean jars in boiling water for a minimum of 10 minutes. Lids and bands should be simmered — not boiled — in hot water at around 180°F (82°C) for 10 minutes. This kills bacteria, mold spores, and yeast that could spoil your preserved food or, worse, cause foodborne illness. Whether you're working with a standard Glass Storage Jar or a wide-mouth canning jar, sterilization is a non-negotiable step before processing any food with a boiling water bath for less than 10 minutes.
The USDA and the National Center for Home Food Preservation are clear on this: jars used for canning must be sterilized if the processing time in a boiling water canner is under 10 minutes. For longer processing times, the heat of the canner itself sterilizes the jars during processing. Understanding this distinction saves time and prevents unnecessary steps — but it also means skipping sterilization at the wrong moment can be dangerous.
This guide covers every proven sterilization method in practical detail, including what temperatures matter, how long each method takes, common mistakes that render sterilization useless, and how to handle different types of glass jars safely.
Why Sterilizing Mason Jars Matters More Than Most People Realize
A clean jar is not a sterile jar. Washing a Glass Storage Jar with hot soapy water removes visible dirt and most surface bacteria, but it does not eliminate heat-resistant spores or organisms that thrive in sealed, low-oxygen environments. Clostridium botulinum, the bacterium responsible for botulism, produces spores that can survive ordinary washing and even brief exposure to boiling water. Once sealed in a jar with food, those spores can germinate and produce one of the most potent toxins known.
Beyond botulism, improperly sterilized mason jars commonly lead to mold growth, yeast fermentation, and off-flavors in preserved foods. Even a single jar that spoils due to inadequate sterilization represents wasted produce, wasted effort, and a potential health hazard for anyone who consumes it without noticing.
Sterilization is especially critical for high-acid foods processed for less than 10 minutes, such as certain jams, jellies, and pickles. Low-acid foods like vegetables, meats, and soups must always be processed in a pressure canner regardless of jar sterilization status, because boiling water temperatures (212°F / 100°C) are not sufficient to destroy Clostridium botulinum spores in low-acid environments.
Understanding the science behind sterilization helps you apply it with precision rather than guesswork. Heat destroys microbial cells by denaturing proteins and disrupting cell membranes. At 212°F (100°C) — the temperature of boiling water — vegetative bacteria, yeasts, and molds are killed within minutes. However, bacterial spores require either prolonged exposure to boiling water or higher pressure-canning temperatures (240°F / 116°C) to be destroyed reliably.
What You Need Before You Start
Gathering the right equipment before sterilizing mason jars prevents interruptions mid-process and reduces the risk of burns or contamination. Here is what you will need regardless of the sterilization method you choose:
- Mason jars in good condition — no chips, cracks, or scratches on the sealing rim
- New lids (flat discs with sealing compound) — always use new lids for canning
- Bands (screw rings) — reusable if undamaged and rust-free
- A large stockpot or water bath canner with a rack
- Jar lifter tongs — essential for safely moving hot glass jars
- A clean kitchen towel or drying rack
- A thermometer (for oven or simmering lid method)
Inspect every Glass Storage Jar carefully before sterilizing. Run your finger around the rim and check for nicks, which can prevent a proper seal. Discard any jar with visible damage — a flawed seal is as dangerous as no sterilization at all. Check bands for rust, dents, or warping, and replace any that look compromised.
Wash all jars, lids, and bands in hot soapy water and rinse thoroughly before sterilizing. This pre-wash step removes food residue and organic material that could insulate microbes from the sterilizing heat.
The Boiling Water Method: Step-by-Step
The boiling water method is the most widely recommended technique for sterilizing mason jars. It requires no special equipment beyond a large pot, works reliably every time, and is endorsed by every major food safety authority including the USDA and Ball Canning.
Step 1: Wash the jars
Before anything else, wash your mason jars and Glass Storage Jar lids in hot soapy water. Rinse well to remove all soap residue, which can interfere with the seal. Do not dry them — wet jars go directly into the pot.
Step 2: Place jars in a large pot
Set a rack in the bottom of a large stockpot or water bath canner. The rack keeps jars off direct heat and allows water to circulate freely. Place jars upright on the rack. If you do not have a rack, fold a clean kitchen towel and place it on the pot bottom — this prevents jars from rattling and cracking against the metal.
Step 3: Cover with water and bring to a boil
Fill the pot with hot water until jars are covered by at least 1 inch of water. Bring the water to a full rolling boil over high heat. Once boiling, start your timer.
Step 4: Boil for 10 minutes (adjust for altitude)
Boil jars for a minimum of 10 minutes. If you live at an altitude above 1,000 feet (305 meters), add extra time according to this schedule:
| Altitude | Additional Boiling Time | Total Minimum Time |
|---|---|---|
| 0 – 1,000 ft (0 – 305 m) | 0 minutes | 10 minutes |
| 1,001 – 3,000 ft (305 – 914 m) | +5 minutes | 15 minutes |
| 3,001 – 6,000 ft (914 – 1,829 m) | +10 minutes | 20 minutes |
| Above 6,000 ft (1,829 m) | +15 minutes | 25 minutes |
Step 5: Remove and keep hot until use
Using jar lifter tongs, carefully remove jars from the boiling water and place them upright on a clean towel. Do not dry the insides — any contact with a cloth or paper towel re-introduces contaminants. Keep jars hot until you are ready to fill them. A sterile jar that cools to room temperature before filling can collect airborne bacteria and is no longer considered sterile.
How to Sterilize Mason Jar Lids Correctly
Lids require a different approach than jars. Boiling lids at 212°F (100°C) for extended periods can damage the sealing compound — the soft, rubberized ring around the underside of the flat disc that creates an airtight seal once processed. Repeated or aggressive boiling can cause the compound to become brittle or uneven, leading to seal failure.
The correct method for sterilizing mason jar lids is to simmer them in a small saucepan filled with water heated to 180°F (82°C) for 10 minutes. Use a thermometer to verify temperature — this is warm enough to sterilize but cool enough to protect the sealing compound.
Do not boil lids. Do not leave lids sitting in room-temperature water for hours. Once simmered, keep lids in the hot water until you are ready to place them on filled jars. Use clean tongs or a magnetic lid lifter to remove them — never touch the sealing compound with your fingers, as skin oils and bacteria can compromise the seal.
Bands do not require sterilization in the same way, since they do not come into direct contact with food or the sealed surface. Wash them thoroughly and keep them clean and dry until use.
It is worth noting that most modern lid manufacturers, including Ball and Kerr, have updated their guidance to state that lids no longer need to be heated before use for standard canning — simply washing them in hot soapy water is sufficient when jars are processed for 10 minutes or more in a boiling water bath. However, for short-process recipes and refrigerator preservation, simmering lids remains a good practice.
The Oven Method: Does It Actually Work?
The oven method for sterilizing Glass Storage Jars and mason jars is popular in many home kitchens, but it comes with important caveats. Dry heat in an oven is less efficient at killing microorganisms than moist heat from boiling water. This is because water conducts and transfers heat far more effectively than air, meaning the glass itself reaches sterilizing temperatures more slowly in an oven.
That said, when done correctly, the oven method can achieve adequate sterilization for jars intended for dry goods storage, homemade jams to be processed further, or refrigerated products with short shelf lives.
Oven Sterilization Instructions
- Preheat your oven to 275°F (135°C).
- Wash mason jars thoroughly and rinse well.
- Place damp jars upright (not upside down) on a clean baking sheet or oven rack.
- Place them in the oven once it reaches temperature.
- Heat for a minimum of 20 minutes.
- Remove jars carefully using oven mitts and fill immediately while hot.
Never sterilize lids in the oven. The sealing compound cannot withstand dry oven heat and will be damaged before jars are even ready to use. Always simmer lids separately on the stovetop as described above.
Avoid going above 300°F (149°C) in the oven — excessively high temperatures can cause glass to crack, particularly if the jars contain any residual moisture. Place jars on the rack before turning on the oven, or allow the oven to heat gradually with jars inside, rather than putting cold glass into a preheated oven.
The oven method is not recommended by the USDA for canning purposes. If you are pressure canning or water bath canning for long-term pantry storage, stick to the boiling water method.
Using a Dishwasher to Sterilize Mason Jars
A dishwasher with a sanitizing cycle that reaches at least 150°F (65°C) can sterilize mason jars effectively. Many modern dishwashers include a "sanitize" setting that heats water to 155–165°F (68–74°C), which is sufficient to kill most harmful microorganisms in a properly pre-washed jar.
To use a dishwasher for sterilization:
- Run jars through a full wash cycle with the sanitize setting activated.
- Do not use rinse aid with canning jars — residue can affect the seal.
- Leave jars in the closed dishwasher until you are ready to fill them.
- Fill jars while still hot to prevent thermal shock when adding hot food.
The dishwasher method works well for large batches of Glass Storage Jars and is convenient when you are preparing a substantial canning session. However, it is not foolproof — older dishwashers may not reach sanitizing temperatures, and the actual temperature inside the dishwasher can vary. If in doubt, verify your dishwasher's sanitize cycle temperature using a thermometer or consult the manufacturer's manual.
Lids should not go through a dishwasher. High heat and harsh detergent can degrade the sealing compound. Wash lids by hand and simmer them separately.
Sterilizing Mason Jars in an Instant Pot or Pressure Cooker
A pressure cooker or Instant Pot can sterilize mason jars quickly and effectively due to the elevated temperatures reached under pressure. At 15 PSI, water inside a pressure cooker reaches approximately 250°F (121°C) — high enough to destroy even heat-resistant bacterial spores.
To sterilize jars in a pressure cooker:
- Add 2–3 cups of water to the bottom of the pressure cooker.
- Place washed mason jars upright on the trivet or rack.
- Seal the lid and bring to high pressure.
- Process at high pressure for 5 minutes.
- Allow pressure to release naturally, then carefully open the lid.
- Remove jars with tongs and fill immediately.
This method is faster than stovetop boiling and achieves a higher level of sterilization. It is particularly useful for those who regularly make low-acid preserves or want extra assurance. However, for standard high-acid preserves processed in a boiling water bath for 10 minutes or more, the simpler stovetop method is completely adequate.
Note that an Instant Pot on its "steam" or "pressure cook" mode is suitable for jar sterilization, but an Instant Pot should never be used as a substitute for a dedicated pressure canner when processing filled jars of low-acid food. The two functions are distinct, and using a countertop multi-cooker for pressure canning is explicitly not recommended by the USDA due to inconsistent temperature regulation.
How to Sterilize Mason Jars for Different Uses
Not all mason jar uses have the same sterilization requirements. The method you choose should match the intended use of the jar.
| Use Case | Required Sterilization | Recommended Method |
|---|---|---|
| Water bath canning (≥10 min process) | Not required | Hot wash + keep warm |
| Water bath canning (<10 min process) | Yes | Boiling water, 10 min |
| Refrigerator jams or pickles | Recommended | Boiling water or dishwasher |
| Dry goods storage (flour, rice, spices) | Recommended | Oven method or dishwasher |
| Homemade ferments (sauerkraut, kimchi) | Recommended | Boiling water, 10 min |
| Pressure canning (low-acid foods) | Not required | Hot wash + keep warm |
For refrigerator storage and short-term preserves, sterilization provides meaningful protection against early spoilage even though it is not strictly mandated by food safety guidelines. A properly sterilized Glass Storage Jar filled with homemade jam can last up to 3 weeks in the refrigerator; an unsterilized jar of the same jam may begin showing mold within 7–10 days.
Common Mistakes That Ruin the Sterilization Process
Even people who follow sterilization steps carefully can inadvertently undo their work. These are the most frequent mistakes made when sterilizing mason jars and glass storage jars:
Letting sterilized jars cool before filling
A sterile jar is only sterile in the moment. Once it cools and sits open on a counter, airborne yeasts, mold spores, and bacteria begin to settle inside. Always fill jars while they are still hot. If a jar cools before you're ready to use it, re-sterilize it.
Touching the inside of jars or lids after sterilizing
Your hands carry bacteria and oils even after washing. Touching the inside of a sterilized jar, the underside of a lid, or the sealing rim contaminates everything you just worked to sterilize. Use clean tongs, jar lifters, or sterile gloves for handling.
Starting the timer before water reaches a full boil
Simmering water at 180°F (82°C) is not the same as boiling water at 212°F (100°C). The 10-minute sterilization clock starts only when the water reaches a full rolling boil — not when it begins to steam or produces small bubbles.
Reusing old lids
Lid sealing compounds are designed for single use. After one canning cycle, the compound is compressed and will not form a reliable seal a second time. Always use new lids for any application where a seal is critical. Bands can be reused, but lids cannot.
Skipping altitude adjustments
At higher altitudes, water boils at lower temperatures. At 5,000 feet (1,524 m), water boils at approximately 202°F (94°C) rather than 212°F (100°C). This reduced temperature means standard boiling times are insufficient — add 10 extra minutes of boiling time at this altitude to achieve the same sterilization effect.
Placing cold glass directly into boiling water
Thermal shock occurs when cold glass encounters extreme heat rapidly. This can cause jars to crack or shatter. Always start with warm jars in cool water and bring the temperature up gradually, or warm the jars in the sink with hot tap water before placing them into the pot.
Using non-canning glass jars for preservation
Commercial food jars — pasta sauce jars, pickle jars from the grocery store — are not designed for repeated home canning. The glass is thinner and not tempered to the same standard as purpose-made mason jars or Glass Storage Jars designed for canning. They can crack under repeated sterilization, especially in a pressure canner.
Sterilizing Specialty Glass Storage Jars and Non-Standard Lids
Not all glass containers used for food storage are standard mason jars with two-piece lids. Swing-top Glass Storage Jars, bail-and-wire jars, and decorative hinged-lid jars require slightly different handling during sterilization.
Swing-top or bail-wire jars
These jars feature a glass or ceramic stopper held in place by a wire bail mechanism and a rubber gasket. The rubber gasket is the critical component — it provides the airtight seal. To sterilize these jars, submerge the entire assembly (with bail open and gasket attached) in boiling water for 10 minutes. Replace rubber gaskets every 1–2 years or whenever they show signs of cracking, hardening, or losing elasticity.
Swing-top Glass Storage Jars are not suitable for pressure canning or water bath canning — the bail mechanism does not allow the pressure equalization needed for safe sealing. They are excellent for fermentation, refrigerator storage, and dry goods, but should not be used as substitutes for proper canning jars in preservation recipes.
Wide-mouth versus regular-mouth jars
Wide-mouth mason jars and regular-mouth mason jars are sterilized identically. The opening size does not affect sterilization effectiveness. However, wide-mouth jars are easier to fill cleanly and inspect visually for any residue inside before filling. For chunky preserves, pickles, and whole fruits, wide-mouth versions of any Glass Storage Jar are far easier to work with.
Decorative or vintage glass jars
Vintage mason jars with zinc lids, glass-lined lids, or wire bail closures can be sterilized using the boiling water method, but they should only be used for refrigerator storage or decorative purposes rather than shelf-stable canning. Many vintage jars have hairline cracks that are invisible to the naked eye and can fail under the stress of boiling or pressure processing. They are charming and often effective for dry goods or presentation, but they come with inherent risk when used for heat processing.
How to Know If Your Jars Are Properly Sterilized and Sealed
After sterilizing and filling your mason jars, confirming that the seals are intact is as important as the sterilization process itself. A jar that has been perfectly sterilized but fails to seal is not shelf-safe.
There are three ways to test a seal on a processed jar:
- Press test: Press the center of the lid with your finger. A properly sealed lid will not flex or make a popping sound. If the center moves up and down, the jar has not sealed.
- Tap test: Tap the lid with a metal spoon. A sealed lid produces a clear, high-pitched ringing sound. An unsealed lid produces a dull thud.
- Visual inspection: Sealed lids curve slightly downward in the center due to the vacuum created inside the jar. Any lid that appears flat or domed upward has not sealed properly.
Any jar that fails the seal test should be refrigerated immediately and used within 1–2 weeks, or re-processed within 24 hours using a new lid. Do not store unsealed jars at room temperature regardless of how thoroughly they were sterilized.
Before opening any stored jar, check for signs of spoilage: bulging lids, spurting liquid when opened, off-odors, cloudy liquid (in pickles and juices), or mold visible inside the jar. When in doubt, throw it out — the risk of foodborne illness is never worth the contents of a single jar.
Storing Sterilized Jars Before Use
If you sterilize mason jars in advance of a canning session, proper storage between sterilization and use is essential. An improperly stored sterilized jar can become re-contaminated before you ever fill it.
Store sterilized, empty mason jars and Glass Storage Jars in the following conditions:
- Keep jars upright with clean lids placed on top (but not sealed) to prevent dust and airborne contaminants from entering.
- Store in a clean, dry cupboard away from cooking steam, dust, and strong odors.
- Use sterilized jars within 24 hours for best results — re-sterilize if more than a day passes before use.
- Do not stack jars inside each other — this can trap moisture and create conditions for microbial growth.
For large-scale canning sessions where you sterilize many jars at once, the most efficient approach is to sterilize in batches timed to your filling schedule. Keep jars in the hot water or warm oven until needed, removing and filling them one or two at a time rather than sterilizing everything at once and leaving it to sit.
Quick Reference: Sterilization Methods Compared
| Method | Temperature | Time Required | USDA Approved | Best For |
|---|---|---|---|---|
| Boiling Water | 212°F / 100°C | 10–25 min | Yes | All canning, fermentation, jam |
| Oven | 275°F / 135°C | 20 min | No | Dry goods, non-canning use |
| Dishwasher (sanitize) | 155–165°F / 68–74°C | Full cycle | Conditional | Large batches, convenience |
| Pressure Cooker | 250°F / 121°C | 5 min at pressure | Partial | Fast sterilization, small batches |
Recommended Products
")
")


- PRODUCT
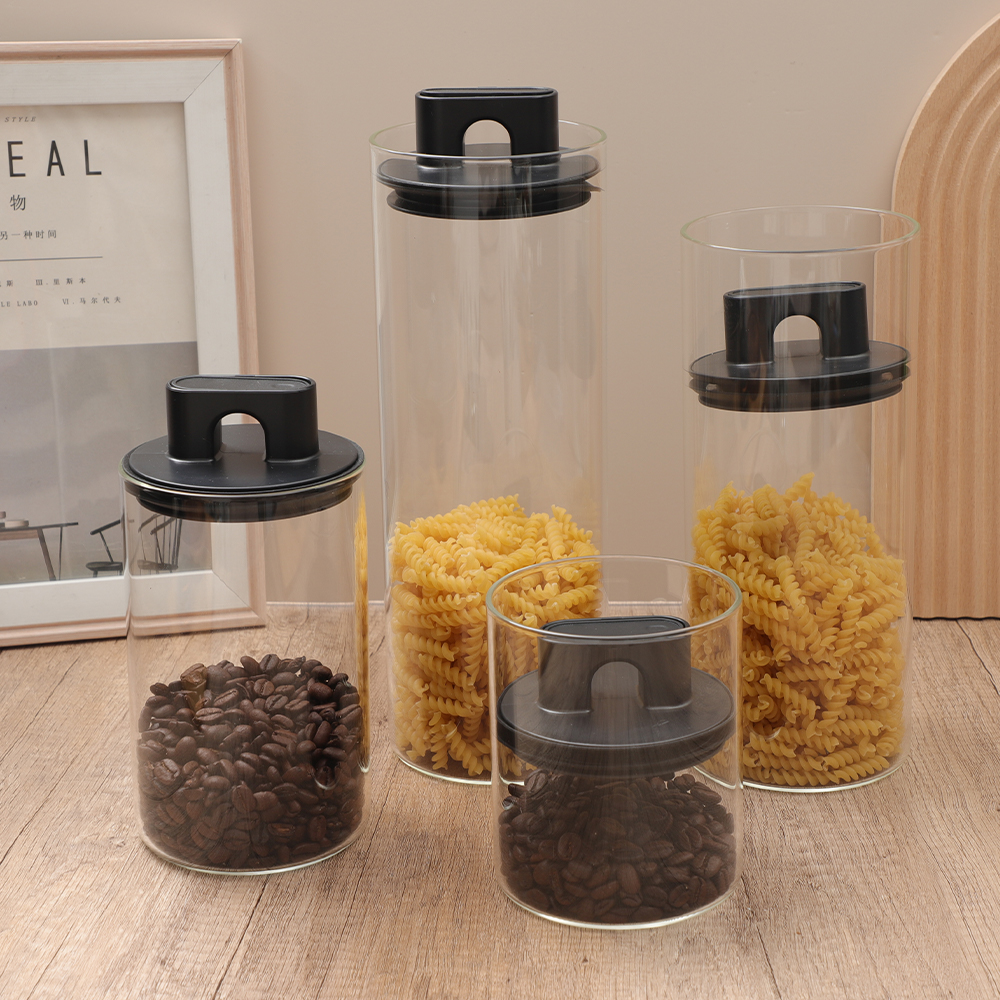
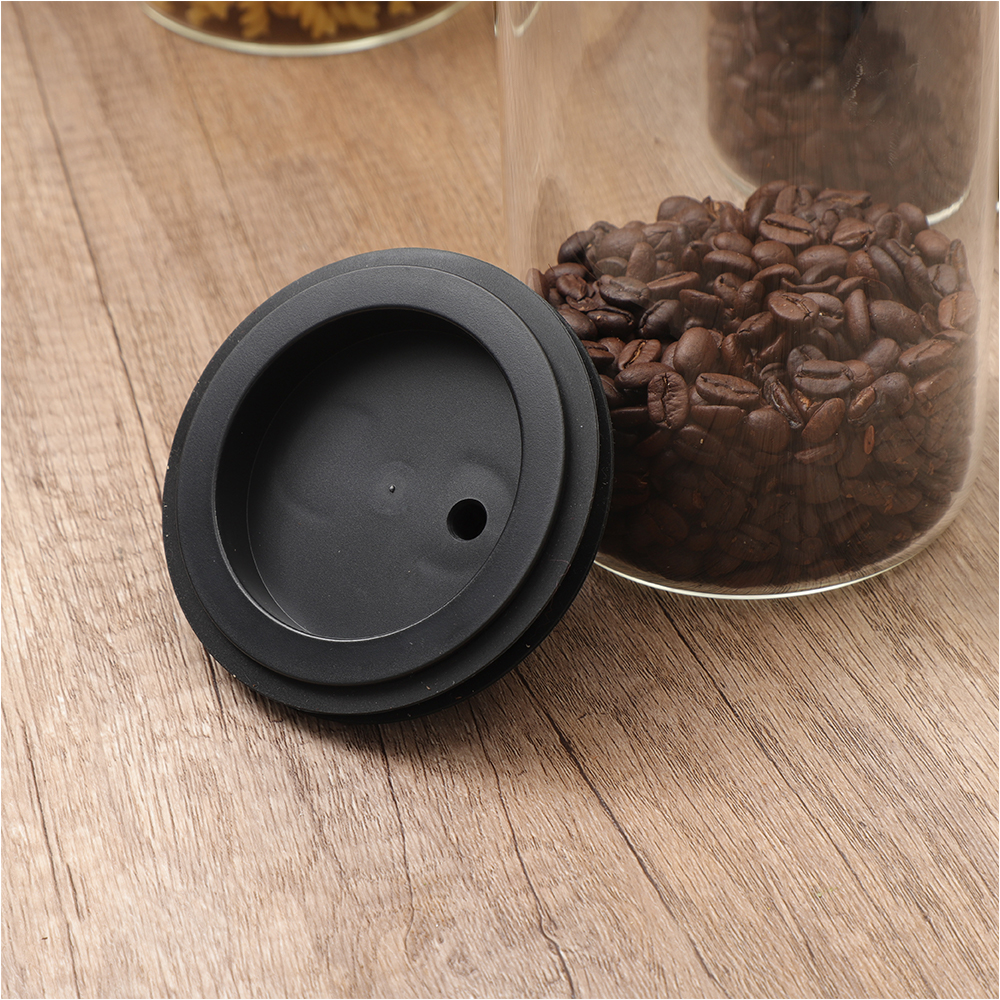
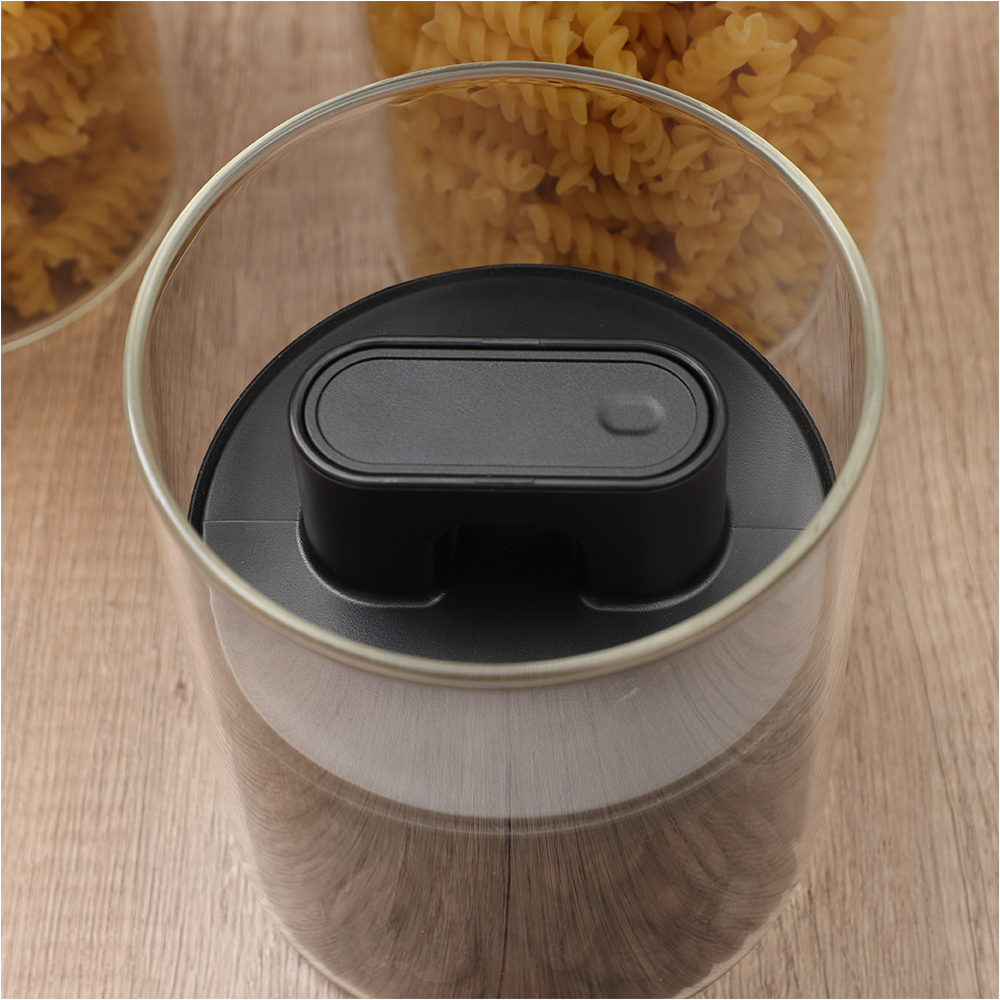
- Glass Storage Jar
- Glass/Stainless Steel Drinking ware
- Kitchen Seasoning Containers
- Home Decoration
- QUICK LINKS
- Products
- About Us
- Manufacture
- ODM/OEM
- News
- Contact Us
- CONTACT US
-
-
 7 Crystal Boulevard xi’an Feng Town, Baoying County,Jiangsu, China.
 -
 WhatsApp: +86-18083783456
 -
 +86-18083766162
+86-18083783456
+86-15895746638
+86-0514-8866-8898
-
 julia@nchousewares.com
Jack@nchousewares.com
-
- CONTACT

