
 English
 日本語
 Deutsch
 Español




How to Sterilize Canning Jar Lids: Boiling, Oven and Dishwasher Methods
Content
- 1 Why the Ten-Minute Boil Rule No Longer Fits Metal Canning Lids
- 2 Every Realistic Lid Treatment Method, Compared
- 3 The Hot Water Hold, Step by Step
- 4 Oven and Dishwasher: What Works, What Warps, What Rusts
- 5 Lids That Genuinely Do Need Full Sterilization
- 6 Mistakes That Show Up as Spoiled Jars Three Weeks Later
- 7 Sterilizing Lids for Pickles, Ferments, and Refrigerator Jars
- 8 Lids for Dry Storage and Vacuum Jars
- 9 What Bulk Buyers Should Check on a Lid Before Ordering 20,000 Units
- 10 Frequently Asked Questions
- 10.1 Do you have to boil canning lids before use?
- 10.2 How long do you sterilize canning jar lids?
- 10.3 Can you sterilize lids in the oven?
- 10.4 Can you put canning lids in the dishwasher?
- 10.5 Do you need to sterilize lids for pickles?
- 10.6 Can you reuse canning lids?
- 10.7 What temperature kills mold and bacteria on a lid?
- 10.8 Do lids need to be dry before use?
- 10.9 Do you need to sterilize lids for kombucha or other fermented drinks?
- 11 The Working Summary
Here is the short answer before any of the detail. With modern two-piece metal canning lids, you do not need to sterilize anything when the filled jars will be processed in a boiling water bath for 10 minutes or longer. Wash the lids in warm soapy water, rinse them, and hold them in a pan of hot water at about 180 F (82 C) until you lift them out with a magnetic wand. The 10 to 15 minute rolling boil that older canning books describe belongs to the era of separate rubber rings, and on a plastisol gasket it does more harm than good.
Three numbers cover almost every situation you will meet in a home kitchen or a small production room. 180 F (82 C) is the temperature that softens a plastisol gasket just enough to take the shape of the jar rim. 212 F (100 C) is the rolling boil that pushes that same gasket past its working range when held there. 10 minutes is the processing time below which the USDA still asks you to sterilize the jar itself. Lids and jars are not the same story, and treating them as if they were is where a large share of seal failures starts.
The words get used loosely, so it helps to separate them. Cleaning removes soil and grease. Sanitizing drops the surface population of microorganisms to a level public health guidance considers safe, usually with heat or a no-rinse acid sanitizer. Sterilizing kills essentially everything, including heat-resistant spores, and in a home kitchen that means pressure canning, boiling, or steam. A canning lid only has to be clean and warm in most recipes. It has to be sanitized when the food inside never receives a heat process strong enough to do the job for it.
Below you will find what changed in lid manufacturing, a side-by-side comparison of every realistic method, the step-by-step hot water hold that covers 90 percent of batches, the lids that truly do need full sterilization, the mistakes that show up as spoiled jars three weeks later, and the checkpoints a buyer should write into a purchase order before ordering 20,000 lids at a time.
Why the Ten-Minute Boil Rule No Longer Fits Metal Canning Lids
Older home canning guides were written around a two-part closure system that many households still remember: a glass jar, a separate rubber ring, and a wire bail or a zinc cap. The rubber ring was reusable, it absorbed odors and food residue, and boiling it really was the only way to bring it back to a usable condition. That is the world the old 10-minute boil was built for.
The lid on a modern two-piece closure is a different product. It is a lacquered tinplate disc with a plastisol gasket deposited around the inside rim. In the factory, that gasket arrives as a liquid PVC dispersion, is shaped onto the lid, and is then cured in a tunnel oven at roughly 200 C (390 F) so the plastic particles fuse into a continuous, slightly tacky ring. The finished gasket is engineered to soften across a narrow window, usually from about 180 F to 200 F, flow into the microscopic irregularities of the glass rim, and then cool into a permanent impression of that specific jar. The seal is not glue and it is not rubber. It is a heat-set memory of the jar's rim.
Hold that lid at 212 F for a quarter of an hour and three things happen at once. The gasket loses some of its elastic recovery, so the impression it takes is shallower. The thin tin coating on the steel disc begins to corrode at any scratch or cut edge, and a rust line under the gasket becomes a leak path. The lid also warps very slightly in the center as the pressure inside the headspace changes during the boil, which is why a lid that has been boiled repeatedly often sits a little proud on the rim afterward.
The official guidance has moved with the manufacturing. The USDA Complete Guide to Home Canning, in its 2015 revision, states that jars need to be sterilized only when the food is processed for less than 10 minutes, and it does not ask for lid sterilization in either case. Ball's own canning instructions tell home preservers to wash lids in warm soapy water and keep them hot until use, not to boil them. On a closer look at how lid type changes seal performance, the pattern repeats across every major closure style: the sealing material dictates the method, and the method must stay inside the material's tolerance.
Every Realistic Lid Treatment Method, Compared
The table below compares the methods people actually use, ordered from the gentlest to the most aggressive. Read the last column before you choose, because most of the damage from lid handling happens after the fact rather than during it.
| Method | Typical Temperature | Contact Time | Best For | Watch Out For |
|---|---|---|---|---|
| Hot water hold | 180 F / 82 C | Until use, up to 30 min | Standard plastisol metal lids | Water cooling below 150 F and stiffening the gasket |
| Short boil | 212 F / 100 C | Maximum 2 to 3 min | Reusable rubber gaskets, glass lids | Gasket over-softening and rim corrosion |
| Oven heat | 225 F / 107 C | 15 min, dry jars only | Empty glass jars, glass lids | Metal lids dry out and crack the gasket |
| Dishwasher cycle | 130 to 165 F / 54 to 74 C | Full wash plus heated dry | Glass lids, stainless vacuum lids | Detergent film, mineral spots, trapped rinse water |
| No-rinse acid sanitizer | Room temperature | 1 to 2 min contact | Fermentation lids and airlocks | Wrong dilution rate, no contact time |
One practical note that applies to every row: a drop of white vinegar in the holding water, roughly one tablespoon per quart, keeps hard water minerals from leaving a chalky film on the lid. That film is harmless to food safety, but it does hide small gasket defects that you would otherwise spot before filling a jar.
The Hot Water Hold, Step by Step
This is the method that covers water-bath canning of jams, jellies, tomato products, pickles, salsa, and fruit in syrup. It takes about 10 minutes of active work and fits any kitchen with a saucepan and a thermometer.
- Fill a small saucepan with water and bring it to about 180 F (82 C). Bubbles will form on the bottom and steam will rise, but the surface should not be rolling. A candy thermometer clipped to the rim is the easiest way to hold that number.
- Wash the lids in warm soapy water with your hands or a soft sponge. Do not use steel wool or an abrasive pad on the gasket, and do not scrub the inside rim with a brush.
- Rinse under running warm water. Hot tap water is fine. Cold water on a warm lid is not, because the temperature shock can distort the disc before it ever reaches a jar.
- Lower the lids into the saucepan with the gasket facing up, one layer deep. Stacking lids face to face traps water between two gaskets and leaves both of them uneven.
- Keep the pan off the heat or on the lowest setting, and hold the lids there until the last jar is filled. Reheat gently if the water drifts below 150 F, because a cold gasket does not take a clean impression.
- Lift each lid with a magnetic lid wand or clean tongs, shake off the excess water once, and center it on the jar rim. Do not dry it with a towel, since lint and fabric softener residue both interfere with the seal.
- Screw the band on until you feel firm resistance, then stop. Roughly finger tight, with about a quarter turn past first contact, is the target. Overtightening lifts the gasket off the rim and traps air under the lid.
After processing, let the jars sit undisturbed for 12 to 24 hours at room temperature. Then remove the bands, check that each lid is concave and does not move when pressed in the center, and store the jars without the bands so a failed seal becomes obvious rather than hidden.
Oven and Dishwasher: What Works, What Warps, What Rusts
Oven heating
Dry heat at 225 F (107 C) for 15 minutes is a legitimate way to prepare empty glass jars, and many commercial kitchens use it because it keeps the jars dry and hot right up to the moment of filling. It is a poor choice for plastisol metal lids. Without moisture in the air, the gasket loses plasticizer at the surface, becomes brittle, and can develop hairline cracks that only reveal themselves as a slow leak two weeks into storage. If you use the oven for jars, keep the lids in their hot water pan instead.
Dishwasher cycles
A home dishwasher reaches roughly 130 to 150 F (54 to 66 C) during the wash, and the final rinse on a sanitize setting is designed to hit at least 150 F. That is enough to clean and lightly sanitize a lid, and it sits inside the gasket's comfort range. Two problems show up again and again, though. First, lids flipped face down collect a teaspoon or more of rinse water in the channel, and that water sits against the gasket until the next load. Second, dishwasher detergent leaves a surfactant film that can act as a release agent between gasket and glass, which is exactly what you do not want at the moment of sealing. If you use the dishwasher, run lids on the top rack in a basket with the gasket facing down but tilted, skip the detergent for that load, and use the heated dry cycle so nothing stays wet.
Steam
A covered steamer basket over boiling water holds a steady 200 to 210 F with far less liquid contact than a boil. Ten minutes of steam will sanitize a lid for fermentation or refrigerator storage without soaking the metal. It is the middle path when you want more assurance than hot water but do not want to submerge the lids.
Lids That Genuinely Do Need Full Sterilization
The no-sterilization rule is not universal. It assumes a single-use metal lid with a factory-applied plastisol gasket, going onto a jar that will receive at least 10 minutes of boiling water processing or a pressure canning cycle. Step outside those assumptions and the rules change.
- Reusable rubber gasket lids and glass lids with separate sealing rings, because the sealing surface is porous and picks up residue from the previous batch.
- Plastic screw lids, which scratch easily and hold onto oils from tomato sauce or pickling brine.
- Any lid going onto food that gets no heat process at all: fermented vegetables, refrigerator pickles, cold-packed salsa, herb vinegars, and dry goods.
- Lids bought second hand, from a flea market, or pulled out of a box in a garage, since you cannot know what was stored under them.
- Lids used in a humid climate and stored in a damp cellar, where mold can colonize the gasket between batches.
For those lids, use the short boil at 212 F for 2 to 3 minutes, or steam for 10 minutes, and dry them in a warm oven at 150 F for a few minutes if you need them bone dry. Anything longer is not extra safety. It is simply wear on the part that has to make the seal.
Mistakes That Show Up as Spoiled Jars Three Weeks Later
Lid handling almost never fails at the moment you do it. It fails quietly during storage, which makes these eight errors worth knowing by name.
- Boiling lids for 10 minutes out of habit, which shortens the gasket's working window and produces a rim impression that is too shallow to hold vacuum for six months.
- Touching the inside of the gasket with bare fingers. Skin oils are a release agent, and a fingertip-sized patch of oil is enough for a slow leak.
- Letting lids sit in the holding water for an hour or more until the gasket turns white and chalky.
- Using a lid whose gasket has a visible nick, a dried-out arc, or a rust speck at the edge. Inspect every lid in daylight; a hairline defect is hard to see in a dim kitchen.
- Wiping the jar rim with a dry cloth after filling. Food residue on the rim is fine only if it is removed with a clean damp cloth and the rim is then left to dry for a few seconds.
- Reusing lids that were already sealed once. The gasket holds a permanent impression from the first jar, and it will not seat properly on a second rim.
- Setting a hot filled jar on a cold stone counter, which can crack the jar base and also pull the lid down as the glass contracts.
- Storing jars with the screw bands still on. A loose lid that has already lost vacuum cannot be seen, and the band can also rust onto the jar threads.
Sterilizing Lids for Pickles, Ferments, and Refrigerator Jars
Pickled cucumbers, kimchi, sauerkraut, and refrigerator dill spears all skip the boiling water bath, so the lid becomes part of the food safety system rather than a passive cap. In a salt brine at pH below 4.6, spoilage yeasts and molds are the main concern, and a clean, dry, sanitized lid removes most of the starting population.
For a one-gallon ferment, the working sequence that has held up well in small commercial kitchens is simple. Wash the jar and lid with hot soapy water. Sanitize the jar and lid with a no-rinse acid sanitizer mixed at the label rate, typically one ounce per five gallons of water, and give it 1 to 2 minutes of wet contact time. Let the lid air dry upside down on a clean rack. Fill the jar, weigh the vegetables under the brine, and fit an airlock so carbon dioxide escapes without letting oxygen in.
If you would rather stay with heat, hot water at 180 F for a few minutes plus a full air dry is enough for fermenting lids. Avoid a long boil here, because fermentation lids often include a silicone grommet or a plastic airlock body, and those deform faster than metal.
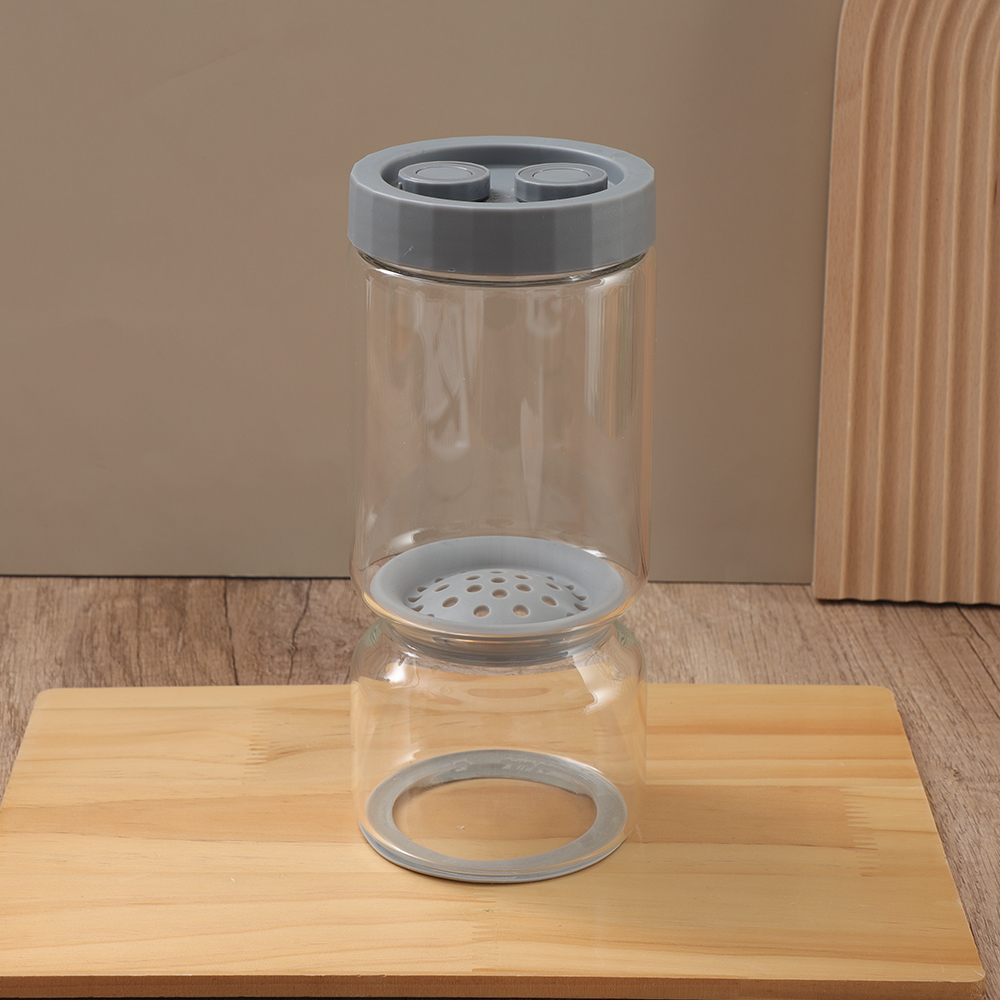 Pickle JarMultiple size options are available to meet various needs. The top is designed with a time knob, which can be used to record time. One side represents the month, and t...View Product →
The container shape matters as much as the lid. A wide-mouth jar with straight sides lets you pack cucumbers or cabbage without bruising, keeps the brine level stable, and makes it easy to slide a weight down against the shoulder. Narrow-neck jars force you to fold or trim the produce, which creates pockets where brine circulates poorly and mold can start.
Lids for Dry Storage and Vacuum Jars
Dry goods live by different rules again. Botulism risk requires a moist, low-acid, oxygen-free environment, so a jar of rice, coffee beans, or dried chili flakes does not need a sterilized lid in the food safety sense. It does need a genuinely dry lid, because moisture trapped under a gasket is the single most common cause of mold on the underside of a storage lid.
Vacuum storage jars add a mechanical step. You pump air out through a valve, the internal pressure drops, and the gasket is held against the rim by the pressure difference rather than by the cooling of a hot headspace. That means the gasket needs to be soft and clean before the pump goes on, but it should not be wet. A thin film of water under the gasket will be drawn into the valve and can also leave a mineral ring that breaks the seal weeks later.
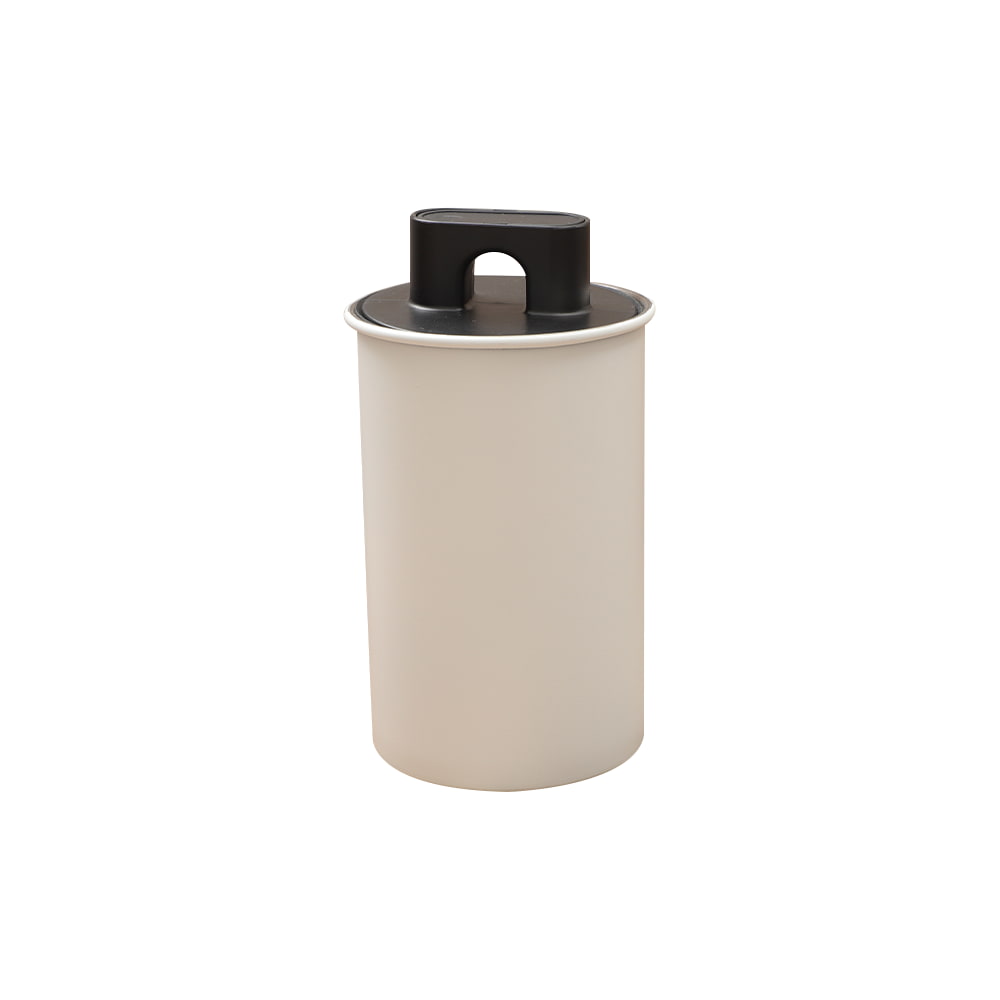 Glass Vacuum Storage Jar SuppliersThis product has patent rights in the United States and European regions. "There is a push switch on the top. Turn on the switch and push the lid to expel the internal...View Product →
A practical routine for dry storage: wash the lid in warm soapy water, rinse, dry it completely with a clean cloth or let it air dry, then check the gasket with a fingertip for grit. Store the jar in a cabinet away from the stove. If you open a vacuum jar and the lid comes off with no resistance, the seal was already gone, and the contents should be inspected rather than assumed to be fine.
What Bulk Buyers Should Check on a Lid Before Ordering 20,000 Units
Anyone sourcing lids in volume, whether for a canning brand, a chain of cafés, or a private-label kitchen storage line, should convert home canning experience into measurable specifications. The table below reflects the checkpoints that separate a lid that seals reliably from one that produces returns six months after shipment.
| Checkpoint | Typical Specification | Why It Matters |
|---|---|---|
| Tinplate thickness | 0.20 to 0.23 mm | Thin stock dents during band tightening and breaks the seal line |
| Gasket deposit weight | Consistent gram weight per lid | Too little compound means an incomplete seal ring |
| Gasket cure | Controlled tunnel oven profile | Under-cured compound sticks to the jar; over-cured compound cracks |
| Lid diameter tolerance | Within a few tenths of a millimeter | Misalignment with the glass rim creates one-sided sealing |
| Vacuum retention test | Held under vacuum for 24 hours | Reveals slow leaks that a short bench test cannot catch |
| Dishwasher endurance | Repeated hot cycles plus heated dry | Predicts how the closure behaves for customers who reuse lids |
Glass and closure are one system, so the sensible approach is to specify both together. A factory that already controls glass wall thickness, rim flatness, and thread geometry can also control how the lid gasket lands on that rim, which removes one of the most common sources of complaints in private-label kitchenware. Buyers who are also sourcing jars, containers, or storage sets may find it faster to discuss the full closure specification with the production team rather than matching parts from two suppliers after the fact.
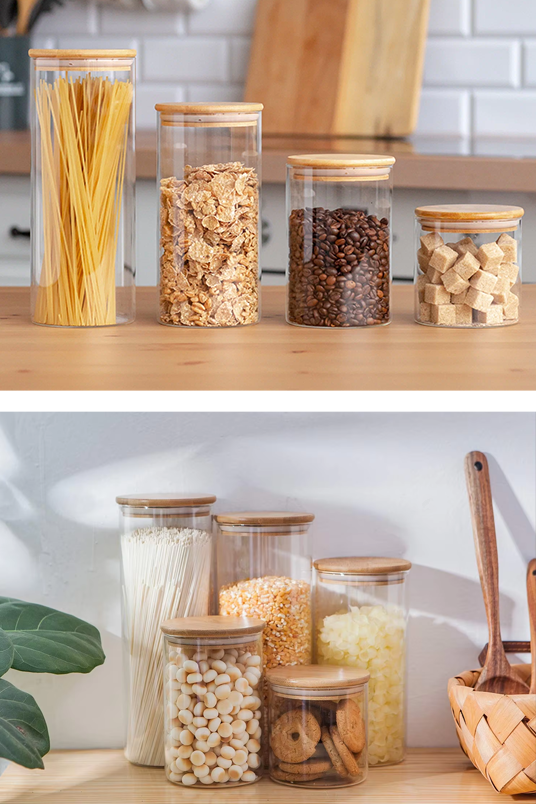 Glass Airtight Food Storage Containers Suppliersinformation to be updatedView Product →
For a private-label program, ask three questions early. Which gasket material is being used, plastisol or silicone? What is the lid's rated working temperature range? And what vacuum level does the closure hold after 24 hours? Those three answers tell you whether the product will perform for a customer who boils lids out of habit, or whether it needs clear instructions printed on the packaging.
Frequently Asked Questions
Do you have to boil canning lids before use?
No. For standard single-use metal lids with a plastisol gasket, washing in warm soapy water and holding them in hot water at about 180 F (82 C) is the current recommendation. Boiling at 212 F for 10 minutes or more shortens the gasket's working life and can leave rust at the lid edge.
How long do you sterilize canning jar lids?
If you truly need sterilization, for example with reusable rubber-gasket lids or glass lids, keep them at a boil for 2 to 3 minutes, or steam them for 10 minutes. Longer exposure does not add safety. It only removes elasticity from the sealing material.
Can you sterilize lids in the oven?
Oven heating at 225 F (107 C) for 15 minutes is fine for empty glass jars, but dry heat is hard on a plastisol gasket. It pulls plasticizer from the surface and can cause hairline cracks, so keep metal lids in hot water instead and reserve the oven for the jars themselves.
Can you put canning lids in the dishwasher?
You can, and the temperatures involved, roughly 130 to 165 F (54 to 74 C), stay inside the gasket's range. The risks are detergent film on the sealing surface and rinse water trapped in the lid channel. Use the top rack, skip detergent for that load, and run the heated dry cycle.
Do you need to sterilize lids for pickles?
If the jars go through a boiling water bath, no sterilization is needed because the process itself handles the headspace and lid. If you are making refrigerator pickles that never get processed, sanitize the jar and lid with hot water or a no-rinse acid sanitizer and let them air dry before filling.
Can you reuse canning lids?
Single-use metal lids hold a permanent gasket impression from the first jar, so reuse for canning is not reliable. They can still serve for dry pantry storage or for a jar that will sit in the refrigerator, as long as the gasket has no nicks and the lid is completely dry before use.
What temperature kills mold and bacteria on a lid?
Most yeasts, molds, and vegetative bacteria are destroyed within a few minutes at 180 F (82 C) in moist heat. Heat-resistant spores need pressure canning temperatures of 240 F (116 C) or above, which is a job for the canner, not for the lid sitting in a saucepan.
Do lids need to be dry before use?
For boiling water canning, a little residual water on the lid is normal and harmless. For dry storage, vacuum jars, and fermentation, the lid should be fully dry, because trapped moisture under the gasket encourages mold and can lift the seal when the jar is pumped down.
Do you need to sterilize lids for kombucha or other fermented drinks?
Sanitize rather than sterilize. A no-rinse acid sanitizer at one ounce per five gallons, with 1 to 2 minutes of wet contact, followed by air drying, is the practical standard. Skip a long boil, because silicone grommets and plastic airlock bodies deform well before metal does.
The Working Summary
The habit worth keeping is simple: wash, rinse, hold at 180 F, keep the gasket untouched, and tighten to finger firm. The habit worth dropping is the long boil, which belongs to rubber rings rather than to the plastisol lids on your shelf. Reserve full sterilization for reusable gaskets, glass lids, and any food that never gets a heat process, and the difference will show up months later, in a pantry where every lid is still concave and every jar still rings when you tap it.
Recommended Products


- PRODUCT
- Glass Storage Jar
- Glass/Stainless Steel Drinking ware
- Kitchen Seasoning Containers
- Home Decoration
- QUICK LINKS
- Products
- About Us
- Manufacture
- ODM/OEM
- News
- Contact Us
- CONTACT US
-
-
 7 Crystal Boulevard xi’an Feng Town, Baoying County,Jiangsu, China.
-
 WhatsApp:
+86-15005252638 -
 +86-15005252638
+86-18083766162
+86-15895746638
+86-0514-8866-8898
-
 joy@nchousewares.com
Jack@nchousewares.com
julia@nchousewares.com
-
- CONTACT

