
 English
  日本語
日本語  Deutsch
  Español




How to Vacuum Pack Jars: Complete Guide for Glass Storage
Content
- 1 The Short Answer: How To Vacuum Pack Jars
- 2 What Actually Happens Inside The Jar
- 3 Choosing A Jar That Can Actually Hold A Vacuum
- 4 Step-By-Step: Vacuum Packing A Jar At Home
- 5 Foods That Benefit Most From A Vacuum-Packed Jar
- 6 Matching A Vacuum Sealer To Your Jars
- 7 Alternative Ways To Pull A Seal Without A Dedicated Machine
- 8 Common Mistakes That Break The Seal
- 9 Where And How To Store Sealed Jars Long Term
- 10 Keeping Jars And Lids In Working Condition
- 11 Vacuum Jars Versus Other Preservation Methods
- 12 Beyond The Pantry: Other Practical Uses
- 13 Frequently Asked Questions
- 13.1 Can any glass jar be vacuum sealed?
- 13.2 How do I know if the jar actually sealed?
- 13.3 Is it safe to vacuum pack fresh or moist food in a jar?
- 13.4 Does vacuum packing change the taste of dry goods?
- 13.5 How many times can the same lid be reused?
- 13.6 What is the difference between vacuum packing and vacuum sealing bags?
- 13.7 Can vacuum-packed jars be stored in the freezer?
- 13.8 Why did my jar lose its seal after a few days even though it clicked at first?
- 13.9 Do I need a special jar, or can I convert a jar I already own?
- 13.10 Is vacuum packing the same thing as canning?
The Short Answer: How To Vacuum Pack Jars
Vacuum packing a jar means pulling the air out of a sealed glass container so that oxygen, moisture, and airborne bacteria cannot reach whatever is stored inside. In practice this comes down to four steps: fill a compatible Glass Storage Jar no more than three-quarters full, fit a vacuum-rated lid or a jar attachment on top, run a countertop or handheld vacuum sealer for roughly ten to twenty seconds until the lid clicks or the gauge shows a seal, then confirm the seal by pressing the center of the lid. If the lid stays down without popping back up, the jar is sealed.
Done correctly, this single technique can stretch the shelf life of dry pantry staples from a few months to well over a year, and it keeps items like coffee, herbs, and nuts from turning stale after the very first time the jar is opened. It also solves a second, less obvious problem: pest control. Weevils, moths, and their eggs cannot survive in an oxygen-poor environment, so a properly sealed jar of flour or rice stops an infestation before it starts, rather than only slowing one down.
The rest of this guide walks through the science behind why this works, how to pick jars and hardware that hold a seal reliably, a full walkthrough of the process, food-by-food shelf life data, tool comparisons, the mistakes that ruin a seal, long-term jar care, how vacuum jars stack up against other preservation methods, and a detailed FAQ section covering the questions that come up most often once someone starts sealing jars regularly.
What Actually Happens Inside The Jar
Food does not spoil because time passes. It spoils because oxygen reacts with fats and pigments, because moisture in the air feeds mold spores, and because insects and bacteria need airflow to establish themselves. A vacuum sealed jar removes the one ingredient all three of those processes depend on.
Ordinary glass jars with a simple screw lid still hold a surprising amount of trapped air, typically somewhere between 20 and 35 percent of the empty headspace by volume once you account for the gaps between granules of rice, coffee grounds, or dried beans. A domestic vacuum sealer can remove roughly 90 to 99 percent of that air, dropping internal pressure to somewhere near 0.1 to 0.3 atmospheres depending on the machine. That drop in pressure lowers the oxidation rate of fats dramatically, which is why vacuum-packed nuts and ground coffee resist the rancid smell that unsealed containers develop within weeks.
There is a second, quieter mechanism at work as well. Every jar of dry food contains a small population of insect eggs and mold spores that arrived with the ingredient itself, long before it reached a kitchen shelf. Oxygen is what lets those dormant organisms activate. Drop the oxygen level low enough and the eggs stay dormant and the spores stay inactive, which is a large part of why a vacuum-packed jar of rice can sit for years without developing the small moths that often appear in an open bag of the same rice within a single summer.
Why Glass Outperforms Plastic For This Job
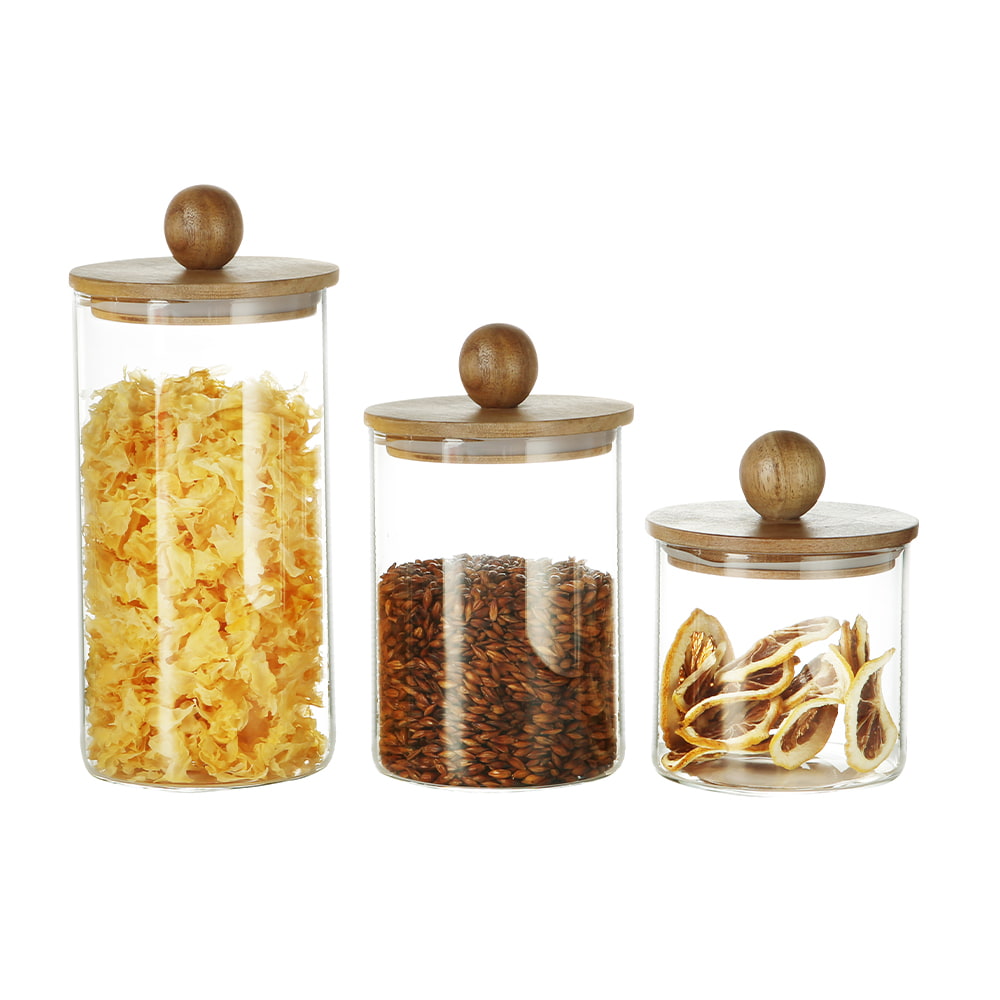
Plastic containers flex slightly under vacuum pressure and many are gas-permeable at a microscopic level, so a small amount of oxygen migrates back in over several weeks. A rigid Glass Storage Jar does not flex and does not let gas pass through its walls, so once a proper seal forms it holds until the lid is broken. Glass is also inert, meaning it will not absorb odors or leach flavor compounds the way some plastics can after repeated vacuum cycles.
How A Vacuum Actually Forms And Holds
When air is pulled out from beneath a sealed lid, the pressure inside the jar drops below the pressure of the atmosphere outside it. That pressure difference is what physically holds the lid down. A one-quart jar exposed to standard atmospheric pressure has roughly 200 to 220 pounds of force pressing down on its lid once a strong vacuum is pulled, which is why a properly sealed lid resists being lifted by hand even though nothing is mechanically locking it in place. The seal only fails when air finds a path back in, whether through a compromised gasket, a chip in the rim, or fine powder lodged in the vacuum channel.
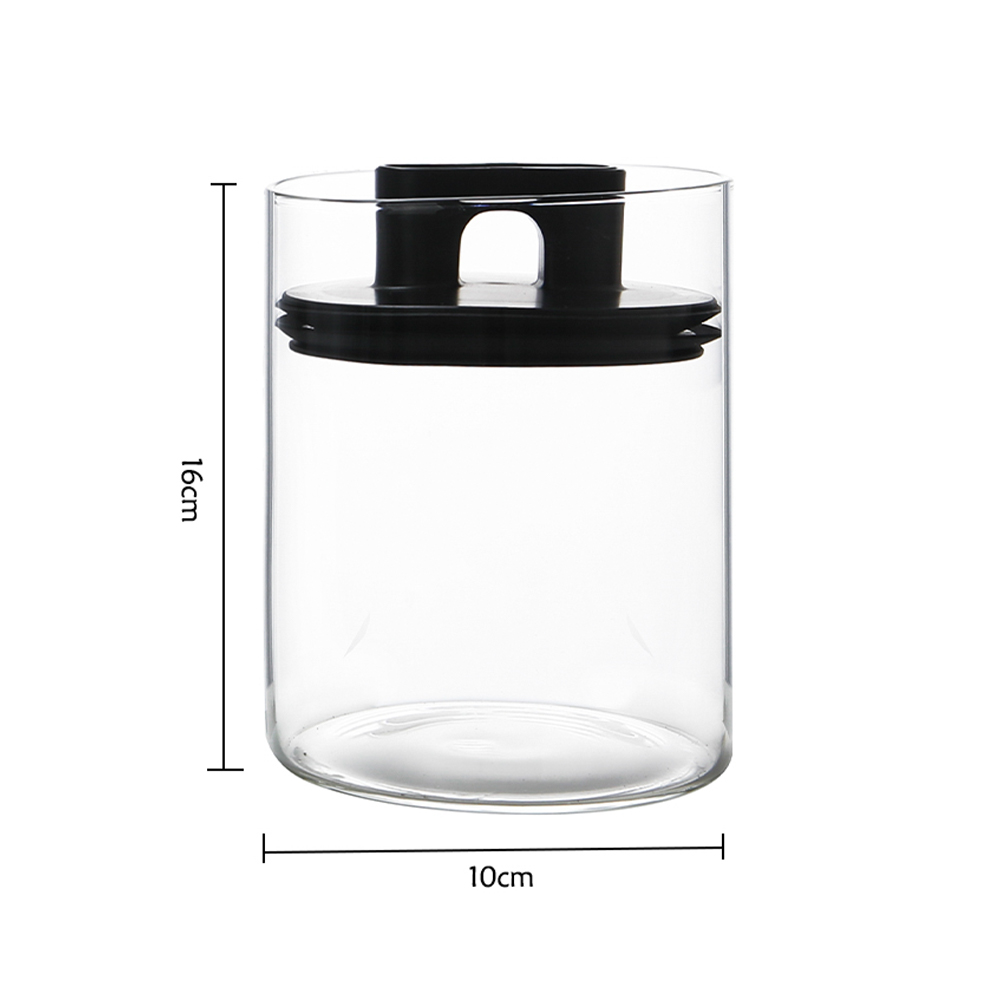
Choosing A Jar That Can Actually Hold A Vacuum
Not every jar on a pantry shelf is built for this. Vacuum sealing puts real mechanical stress on the lid and the rim, so the jar needs three things: a flat, unchipped rim, a lid designed to accept a vacuum port or handheld nozzle, and glass thick enough to resist pressure differences without cracking.
- Wide-mouth jars seal more reliably than narrow-neck jars because the gasket has more surface area to grip.
- Tempered soda-lime glass, the type used in most modern kitchen jars, tolerates the pressure swing of home vacuum sealing without added risk.
- Two-piece metal lids with a separate flat disc and screw band are the easiest style to convert for vacuum use, since the disc has a channel for the sealer's needle or nozzle attachment.
- A rim with even a hairline chip will never hold vacuum pressure, so run a finger around every rim before filling.
- Clear glass lets you see at a glance whether contents have absorbed moisture or shifted color, both of which are early warning signs that a seal has failed even if the lid itself still looks intact.
Jar Sizes And What They're Best Suited For
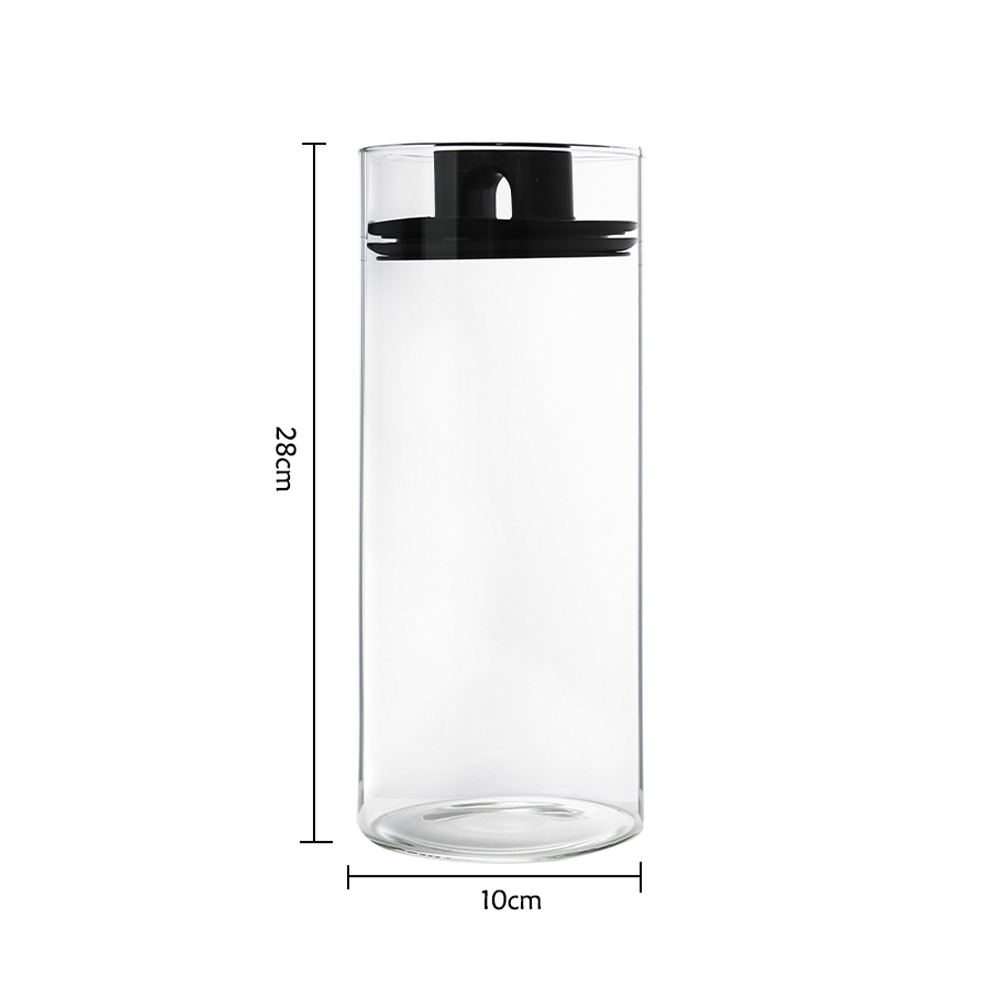
Smaller jars, in the 8 to 16 ounce range, pull a seal faster and are the right choice for spices, single-batch coffee, or dehydrated herbs that get used up quickly once opened. Larger jars, from 32 ounces upward, are more efficient for bulk staples like rice, flour, or dried beans that a household goes through steadily, since fewer seal-and-reseal cycles mean fewer chances for the lid gasket to wear out.
Jar Shape Matters More Than Most People Expect
Straight-sided jars seal more consistently than jars with a shoulder that tapers in toward the neck, because a tapered shoulder creates a small pocket of air that is harder for a vacuum port to reach fully. If a jar is going to be sealed and reopened often, a plain cylindrical shape with a wide, flat mouth is the more dependable long-term choice over a decorative or curved design.
New Jars Versus Reused Jars
A brand new jar with an unused gasket will almost always outperform a jar that has already been through dozens of open-and-reseal cycles. This does not mean old jars need to be thrown out, but it does mean the gasket and lid disc, not the glass itself, should be treated as the wear item that eventually needs replacing. The glass body of a well-made jar can realistically be reused for a decade or longer.
Step-By-Step: Vacuum Packing A Jar At Home
- Wash and fully dry the jar and lid. Even a small amount of residual moisture on the rim will prevent a clean seal and can fog the inside of the glass over time.
- Let hot or freshly cooked ingredients cool completely to room temperature before filling. Sealing warm food traps rising water vapor that later condenses and undermines the seal from the inside.
- Fill the jar, leaving at least an inch of headspace between the contents and the rim. Overfilling is the single most common reason a seal fails on the first attempt.
- Wipe the rim clean with a dry cloth. Crumbs, oil, or spice dust on the rim create tiny gaps the gasket cannot close.
- Place the vacuum lid or attach the jar sealer nozzle over the standard lid, lining it up with the center port.
- Run the vacuum cycle. Countertop machines typically finish a quart-size jar in 10 to 15 seconds; handheld pump sealers may need 15 to 20 pumps.
- Listen for the click or watch the indicator button drop flush with the lid surface. That is the visual confirmation that atmospheric pressure is now holding the lid shut.
- Press the center of the lid before storing. A properly sealed lid will not flex or pop.
- Label the jar with the contents and the date it was sealed. Vacuum packing extends shelf life dramatically, but it does not make food last indefinitely, and a date makes rotation easy months or years later.
A Note On Batch Sealing
When sealing several jars in one sitting, work through the drying and filling steps for every jar first, then run the vacuum cycle on each one back to back. Doing it this way keeps the sealer's motor working continuously at a steady temperature, which several home cooks who seal in bulk report gives a slightly stronger and more consistent seal than stopping and starting the machine between individual jars.
Foods That Benefit Most From A Vacuum-Packed Jar
Some ingredients gain far more shelf life from vacuum packing than others, mostly because their spoilage is driven by oxidation rather than by moisture alone.
| Food Item | Open Container Shelf Life | Vacuum-Packed Jar Shelf Life |
|---|---|---|
| Ground coffee | 2 to 4 weeks | 4 to 6 months |
| Whole coffee beans | 1 to 2 months | 9 months |
| Raw nuts | 1 to 2 months | 9 to 12 months |
| Dried herbs and spices | 6 months | 18 to 24 months |
| Rice and dried grains | 6 to 12 months | 2 to 3 years |
| Dried beans and legumes | 1 year | Up to 3 years |
| All-purpose flour | 6 to 8 months | 1 to 2 years |
| Dehydrated fruit | 4 to 6 months | 1 year |
| Sugar and salt | Indefinite, but prone to clumping | Indefinite, minimal clumping |
These ranges assume storage away from direct sunlight and heat sources. A jar kept near a stove or a sunny window will lose shelf life regardless of how tight the seal is, because heat accelerates oxidation on its own. Foods with a naturally high fat content, such as nuts, seeds, and whole coffee beans, benefit the most in relative terms because fat oxidation is the fastest of the common spoilage pathways once oxygen is present.
Foods That Gain Little From Vacuum Packing
Refined white sugar and table salt already resist spoilage almost indefinitely because they contain essentially no moisture or fat for bacteria or oxidation to act on. Vacuum packing these mainly helps with clumping and pest exclusion rather than extending a shelf life that was already very long.
Matching A Vacuum Sealer To Your Jars
Three general categories of tool handle jar sealing, and picking the wrong one is a common source of frustration.
Countertop Chamber-Style Sealers
These use a dedicated jar port on top of the machine. A hose connects to a lid accessory, and the machine pulls air directly through the lid until it reaches a set pressure threshold, then shuts off automatically. This style gives the most consistent results because the vacuum level is fixed and repeatable, and it is the format most often used by households that seal jars several times a week.
Handheld Pump Sealers
A small hand pump or battery-powered handle fits over a valve built into specialty vacuum lids. These are slower and rely on manual effort or a small motor, but they are inexpensive and portable, making them a reasonable choice for someone who only seals a jar occasionally, or who wants a version that does not need to sit plugged in on a counter.
Universal Jar Attachments
Silicone or plastic adapters that snap onto an existing countertop sealer's hose let it work with wide-mouth or regular-mouth jars without buying a dedicated lid for every jar in the cupboard. These attachments are worth checking against the jar's rim diameter before buying, since a loose fit will never pull a full vacuum.
What To Look For In A Machine Built For Jar Use
Not every vacuum sealer on the market includes a jar port at all; some are designed purely for bag sealing. Before buying a machine specifically to pair with a Glass Storage Jar collection, confirm it lists a jar accessory hose or port, check the maximum vacuum pressure it advertises, and look at how loud and how long a typical cycle runs, since these details vary more between models than most buyers expect.
Alternative Ways To Pull A Seal Without A Dedicated Machine
A dedicated vacuum sealer is not strictly required to get most of the benefit, though the results are less consistent than with purpose-built equipment.
Straw Method For Small Jars
Fill the jar, place the lid on loosely, insert a straw into a small gap at the edge, and press down on the lid while sucking air out through the straw. Pull the straw free and finish pressing the lid down in one motion. This works reasonably well on small jars but pulls a much weaker vacuum than a machine and is not reliable for anything meant to last more than a few weeks.
Refrigerator Cold-Contraction Method
Filling a jar with warm, freshly cooked contents, sealing the lid while it is still warm, and then refrigerating it causes the air inside to contract as it cools, pulling the lid down into a partial seal. This is the same principle behind traditional water-bath canning, though it produces a weaker and less complete vacuum than an electric or hand-pump sealer and works best as a short-term method rather than a long-term pantry solution.
Why Dedicated Equipment Still Wins
Both manual methods pull noticeably less air out than a proper sealer, which means the shelf life gains described earlier in this guide should be treated as a ceiling rather than a guarantee when using either shortcut. For anything meant to sit on a shelf for many months, a real jar port or handheld pump attachment is worth the modest cost.
Common Mistakes That Break The Seal
Most failed seals trace back to one of a small handful of avoidable errors.
- Sealing warm or hot food, which creates condensation as it cools and reintroduces moisture and pressure into the jar.
- Using a lid with a worn or cracked rubber gasket, which loses its grip after repeated seal-and-open cycles.
- Packing powdery ingredients like flour too close to the rim, where fine particles get pulled into the vacuum port and block the seal.
- Storing sealed jars somewhere the temperature swings widely, since expansion and contraction of trapped air can gradually loosen a borderline seal.
- Reusing a lid disc more times than the manufacturer recommends. Most flat metal lid discs are rated for a limited number of vacuum cycles before the gasket flattens out.
- Skipping the rim inspection step. A rim that looks fine at a glance can still carry a chip small enough to feel only when a finger is run slowly around the full circumference.
- Assuming a click or pop sound always means success. On some machines the same sound can occur from a partial seal that will not hold for more than a day or two, which is why the manual press test matters even after hearing the expected sound.
Where And How To Store Sealed Jars Long Term
A good seal only delivers its full benefit if the storage environment around the jar cooperates. Three conditions matter most once a jar leaves the sealer: temperature, light, and temperature stability.
A cool, stable spot between roughly 50 and 70 degrees Fahrenheit slows every spoilage pathway that a vacuum seal does not already stop on its own, including the slow browning reactions that affect color and flavor in dried fruit and spices. Direct sunlight breaks down pigments and certain vitamins through a process separate from oxidation entirely, so even a perfectly sealed jar of paprika or turmeric left on a sunny windowsill will fade and lose potency faster than the same jar kept in a closed cabinet.
Temperature swings, such as a pantry shelf near an oven that heats up daily and cools back down overnight, cause the air remaining inside a sealed jar to expand and contract repeatedly. Over months this repeated cycling is one of the more common reasons a seal that held perfectly well for the first few weeks eventually loosens on its own without ever being opened.
Keeping Jars And Lids In Working Condition
A Glass Storage Jar itself can last for decades, but the sealing hardware wears out much sooner. Rinse gaskets and lid discs in warm water after each use, dry them fully before the next seal attempt, and inspect the rubber ring for cracking or stiffness every few months. A gasket that has gone stiff or has visible cracks should be replaced rather than pressed back into service, since a compromised gasket is the number one cause of a jar that seals today but loses vacuum within a week.
Store empty jars with the lid resting loosely on top rather than fully screwed down. Leaving a gasket compressed for long stretches between uses shortens its working life.
When washing jars between uses, avoid abrasive scouring pads on the rim itself. A scratched glass rim, even one too fine to see clearly, creates the same kind of leak path as a chip and will quietly shorten how long each future seal lasts.
Vacuum Jars Versus Other Preservation Methods
Vacuum packing in glass is one option among several common pantry preservation approaches, and each has a different balance of cost, convenience, and effectiveness.
| Method | Reusable | Visibility Of Contents | Typical Oxygen Removal |
|---|---|---|---|
| Vacuum-packed Glass Storage Jar | Yes, hundreds of cycles | Full | 90 to 99 percent |
| Vacuum sealer bag | No, single use | Full but flexible | 95 to 99 percent |
| Mylar bag with oxygen absorber | No, single use | None, opaque | Near total over time |
| Standard screw-top jar, no vacuum | Yes, unlimited | Full | None |
Mylar bags with oxygen absorbers achieve excellent long-term results and are common for multi-year emergency food storage, but they sacrifice the ability to see contents and cannot be resealed once opened. A vacuum-packed jar sits in a practical middle ground: it does not match a Mylar bag's absolute maximum shelf life for multi-decade storage, but it can be opened, used, and resealed hundreds of times, which suits everyday kitchen habits far better than a single-use format.
Beyond The Pantry: Other Practical Uses
Once a household has vacuum sealing hardware and a set of jars on hand, the same technique extends well past everyday dry goods.
Travel And Camping
Pre-portioned, vacuum-sealed jars of trail mix, coffee, or dehydrated meals hold up to being packed in a bag far better than a bag or box that can crush or spill, and the seal keeps contents fresh across a multi-day trip without refrigeration.
Bulk Buying And Cost Savings
Buying rice, beans, flour, or coffee in large bulk quantities is usually cheaper per unit, but only pays off if the surplus does not spoil before it gets used. Splitting a bulk purchase across several vacuum-packed jars lets a household take advantage of bulk pricing without the waste that would otherwise come from a large bag going stale halfway through.
Gifting
A well-labeled, vacuum-sealed glass jar of a homemade spice blend, dried herb mix, or specialty coffee makes a presentable, shelf-stable gift, since the recipient gets a longer usable window than a bag or unsealed container would provide.
Frequently Asked Questions
Can any glass jar be vacuum sealed?
Only if the lid is compatible with a vacuum port or a handheld attachment. A standard screw-top lid with no port will not hold a seal from a countertop sealer, though it can sometimes be adapted with a separate suction lid accessory sold for that purpose.
How do I know if the jar actually sealed?
Press the center of the lid. If it stays flat and does not flex or click when pressed, the vacuum is holding. Many vacuum-specific lids also include a small indicator button that pops down flush once the seal is achieved and pops back up if the seal fails.
Is it safe to vacuum pack fresh or moist food in a jar?
Vacuum packing removes oxygen but does nothing to stop bacterial growth in foods with high moisture content stored at room temperature. Moist or fresh items should still go in the refrigerator or freezer after sealing; vacuum packing is not a substitute for cold storage when it comes to perishable food.
Does vacuum packing change the taste of dry goods?
No noticeable change occurs in taste from the vacuum process itself. If anything, people report the opposite effect: flavor compounds in spices, coffee, and dried herbs are preserved longer because oxidation, the main driver of flavor loss, is slowed dramatically.
How many times can the same lid be reused?
This depends on the gasket material, but most rubber-gasketed vacuum lids hold up for 50 to 100 seal cycles before the rubber loses enough elasticity to affect performance. Rinsing and drying the gasket after each use extends this considerably.
What is the difference between vacuum packing and vacuum sealing bags?
Bags compress around food directly and are typically single-use, while a jar keeps its rigid shape, protects contents from being crushed, and can be opened, resealed, and reused hundreds of times. Jars are the better choice for brittle or delicate dry goods like crackers, dried fruit, or whole spices that would be damaged by the compression a bag applies.
Can vacuum-packed jars be stored in the freezer?
Yes, and doing so can further extend shelf life for items like nuts, flour, or coffee. Leave a little extra headspace before sealing if the contents have any moisture at all, since expansion during freezing can otherwise put stress on the seal.
Why did my jar lose its seal after a few days even though it clicked at first?
This is almost always one of three causes: a small amount of fine powder lodged in the vacuum channel, a gasket that is starting to wear out, or warm food that was sealed before it fully cooled and later released trapped moisture as it settled to room temperature.
Do I need a special jar, or can I convert a jar I already own?
Many standard wide-mouth canning-style jars can be converted using an aftermarket vacuum lid or a universal jar attachment, as long as the rim is smooth, flat, and free of chips. Jars with unusual mouth shapes or narrow necks are harder to fit with standard accessories.
Is vacuum packing the same thing as canning?
No. Canning uses heat processing to kill bacteria and create a seal, and is typically required for anything with significant moisture content meant to sit at room temperature safely. Vacuum packing simply removes air and is best suited to dry goods that are already shelf-stable on their own.
Recommended Products
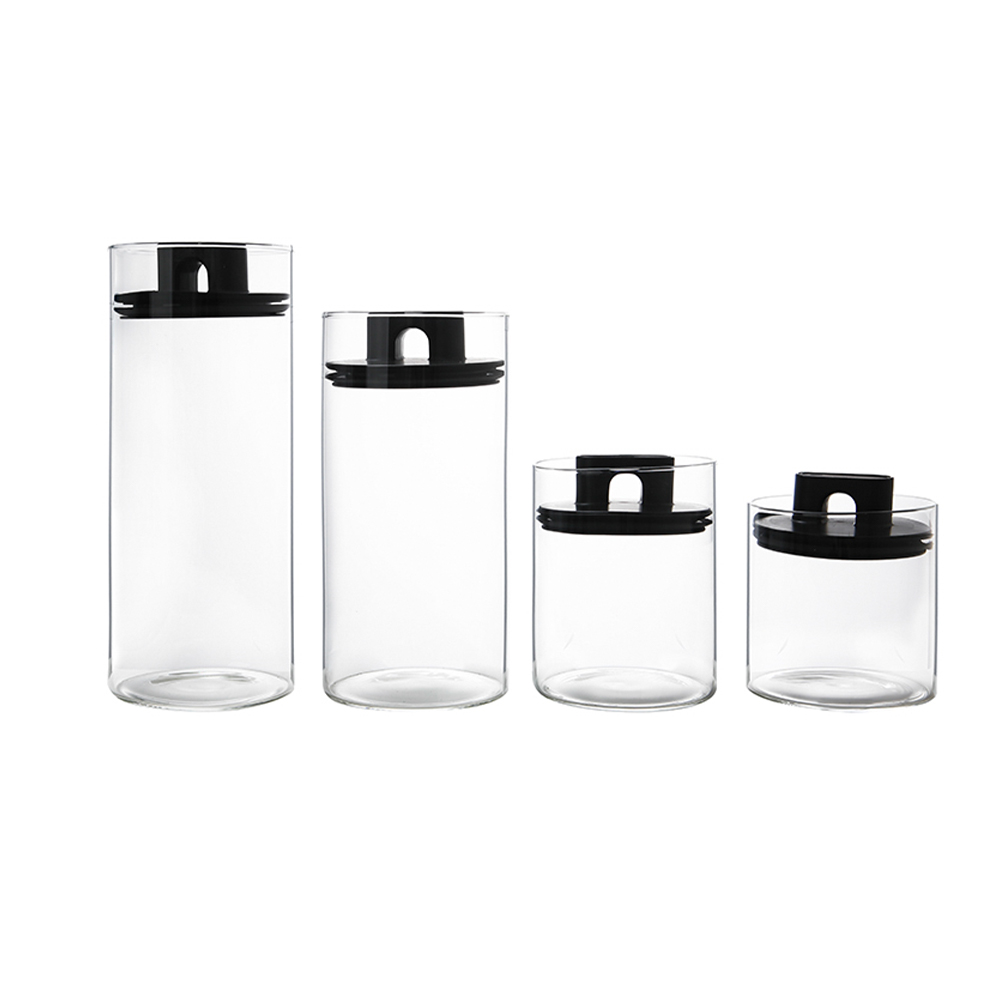
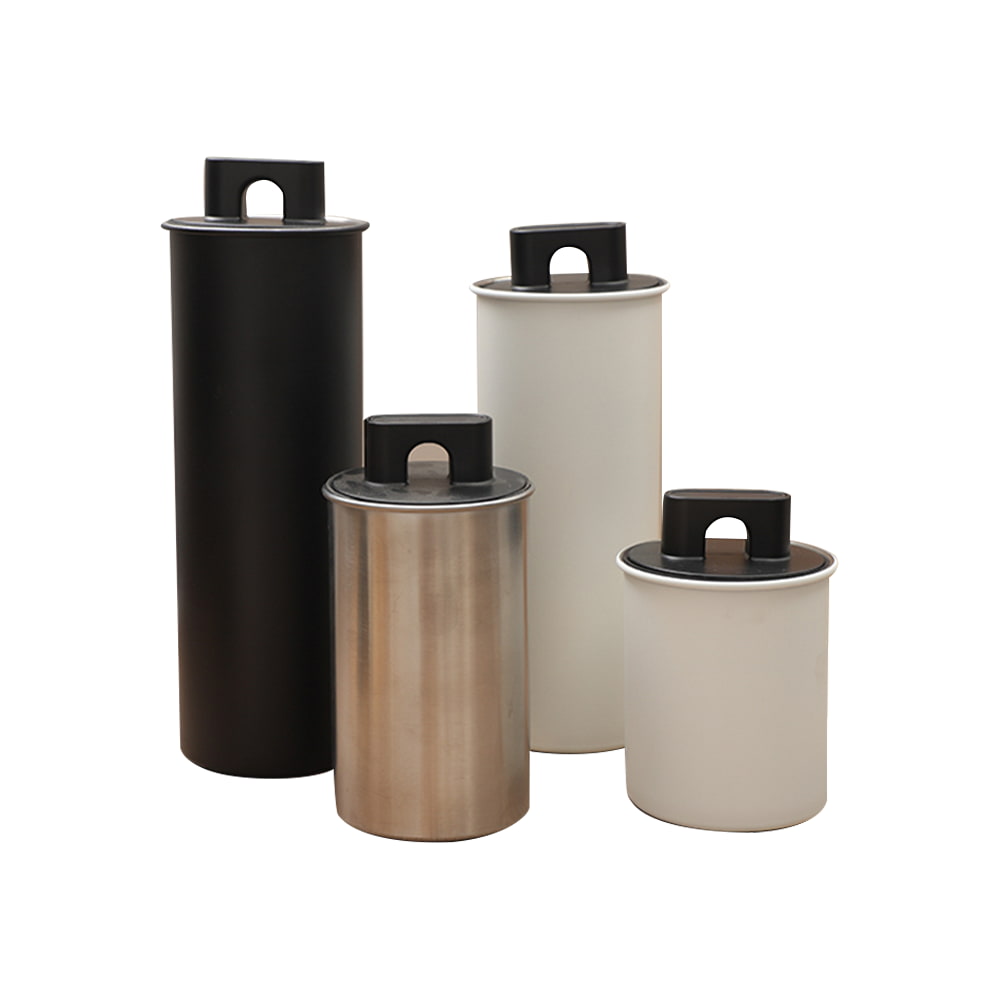
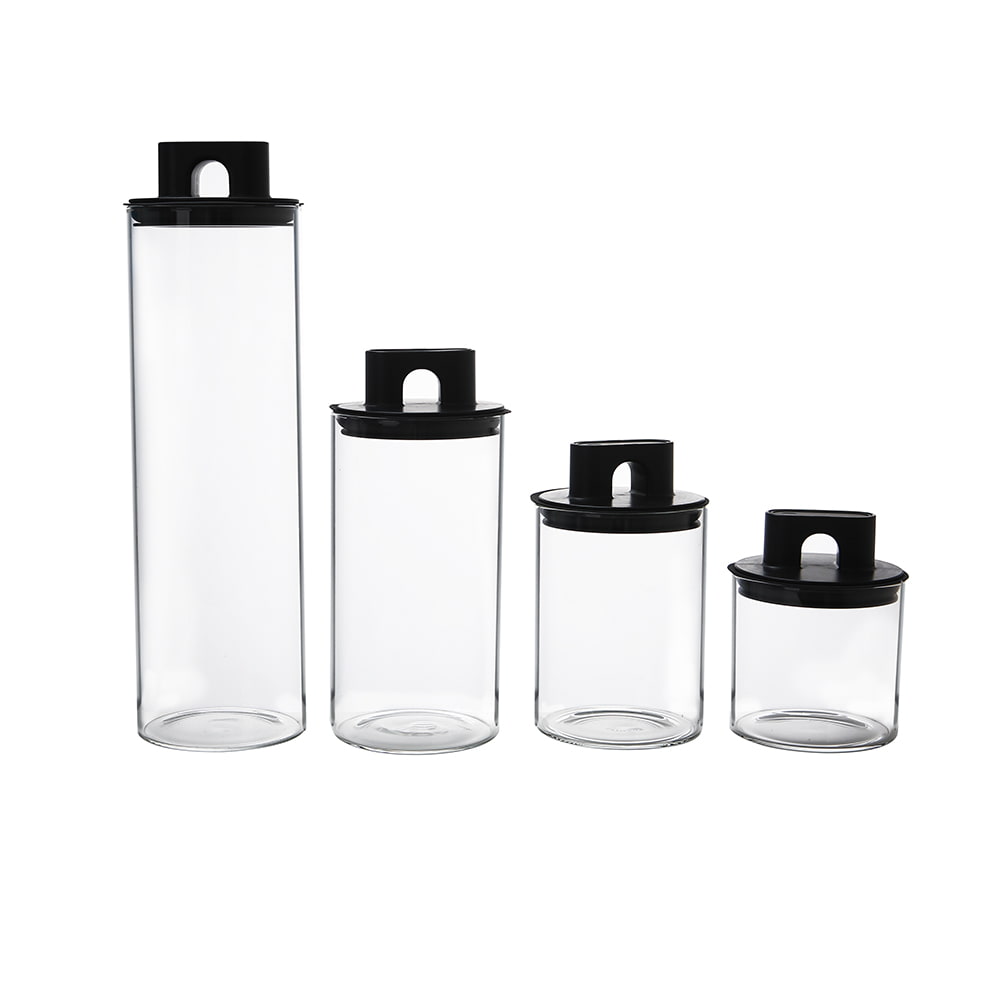


- PRODUCT
- Glass Storage Jar
- Glass/Stainless Steel Drinking ware
- Kitchen Seasoning Containers
- Home Decoration
- QUICK LINKS
- Products
- About Us
- Manufacture
- ODM/OEM
- News
- Contact Us
- CONTACT US
-
-
 7 Crystal Boulevard xi’an Feng Town, Baoying County,Jiangsu, China.
 -
 WhatsApp:
+86-15005252638 -
 +86-15005252638
+86-18083766162
+86-15895746638
+86-0514-8866-8898
-
 joy@nchousewares.com
Jack@nchousewares.com
julia@nchousewares.com
-
- CONTACT

